This is a basic guide to getting started with your hosting account. This guide is meant to inform Shared, VPS, and Dedicated hosting users.
If you have a WP Optimized package, please see our Getting Started with WP Hosting guide.
Step 1: Choose a Hosting Package
The first step is to choose a hosting package. This guide pertains to three of the hosting options we mention:
If you choose one of the options listed above, continue with this guide. If you chose a WP Optimized hosting option, please see the Getting Started with WP Hosting guide.
Step 2: Register a Domain (your website’s web address)
In order to host a website, you need to decide on a domain name. A domain name is the web address that people will use to view your site.
For example, Pair Network’s domain name is pair.com. If you enter pair.com into the browser, you will be taken to our main website.
Domain names can be registered at a domain registrar, like pair Domains.
Pair Networks also offers free pairsite.com subdomains. Sites that use the pairsite.com subdomain will follow the format: example.pairsite.com. If you do not want to purchase a domain yet, you can use a pairsite subdomain.
Step 3: Add Domain to Hosting Account
After choosing and registering a domain name, you will need to add it to your hosting account. By adding a domain to your account, you will be able to create and manage the website at that address.
Follow these steps to add a domain to your hosting account.
Step 4: Set Up Site
After a domain has been added to your hosting account, you can begin working on your website. You can set up a site in a variety of different ways. Some common ones are:
- Add HTML files to your web directory
- Add Bootstrap files to your web directory
- Use the Weebly Site Builder (Shared Hosting only)
- Use PairSIM to install a CMS or other popular software
Step 5: Add an SSL Certificate
SSL (Secure Sockets Layer) is a protocol that allows traffic between a web server and client (ie, the browser) to be strongly encrypted. This helps keep your site information safe from hackers who would try to spy on the information being exchanged between your site and visitors.
SSL is quickly becoming a necessity for websites. Many browsers will now tell visitors that sites are insecure if they lack an SSL certificate. In order to prevent this from happening, you need to put an SSL certificate on your site.
Pair Networks offers two different SSL certificate options:
PairSSL is an SSL certificate that renews yearly. It is backed by Sectigo, a certificate authority, and offers a Relying Party Warranty. There are varying protection levels. See the PairSSL product page for more information.
Follow these instructions to add a PairSSL certificate to your site.
Let’s Encrypt SSL certificates are free and renew every 90 days. The Let’s Encrypt certificates are an open certificate authority and are not backed by a Relying Party warranty.
Follow these instructions to add a Let’s Encrypt SSL certificate to your site.
Optional Steps
With the basics covered, you can move on to using some of the extra features that the hosting accounts provide.
Set Up Custom Email
Custom mailboxes are included with Shared, VPS, and Dedicated hosting packages. The number of custom email addresses that can be created differs by account, but each has a custom mailbox allotment.
| Hosting Option | Number of Mailboxes Included |
| Shared | 500 |
| VPS | 5000 |
| Dedicated | 10000 |
Learn how to create and manage your custom mailboxes.
Check Site Statistics
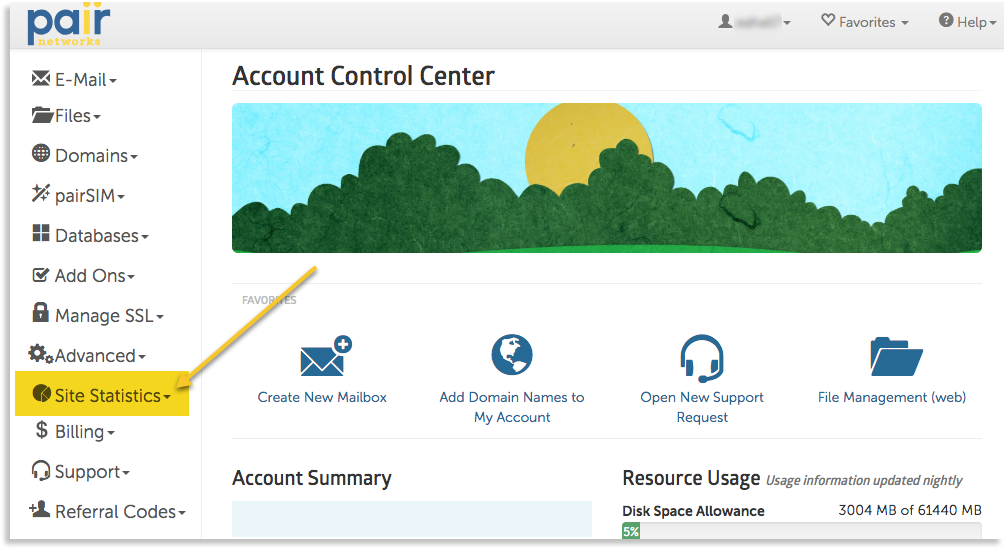
After your site has been up and running, it can be helpful to check your site’s stats. The site statistics can be accessed from the Site Statistics tab in the left sidebar of the Account Control Center.
The site statistics section can take you to view your account’s:
- disk space and bandwidth usage
- error logs
- web statistics reports

