1. Home
  2. Getting Started
  3. How to Create a File in the ACC

How to Create a File in the ACC

Shared

VPS

Dedicated


WP Professional

WP Professional Plus

You can create a file in any directory within your Account Control Center. If you are interested in creating files on your local machine and uploading the files to your server, see our article, How to Upload Files.

How to Create a File in the Account Control Center

Choose the tutorial that reflects your ACC interface type: 

  • Legacy Interface
  • New ACC Interface

Not sure what the difference is? See Which ACC Interface Am I Using? 

If you are using the Legacy Interface:

  1. Log in to the Account Control Center (ACC)
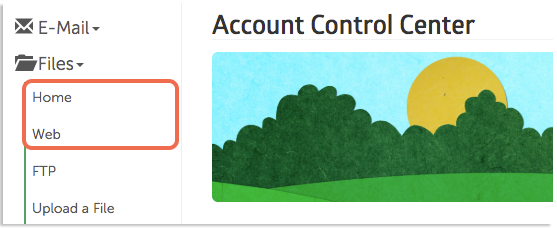
  2. Click Files in the left sidebar
  3. Select Home or Webdirectory image
  4. Within that directory, navigate to the place where you would like to create a file
  5. Once you have arrived in your preferred directory, go to the top navbar and click + New File
  6. Enter the file name in the first box
  7. Enter the file contents in the large text box
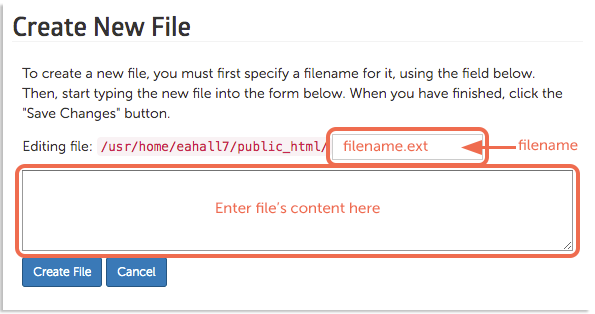
create a file image

    Be sure to add the file extension in the file name.

  8. Click Create File

The file will be saved as your chosen filename in the directory where you clicked the + New File.

If you are using the New ACC Interface:

  1. Log in to the Account Control Center (ACC) at my.pair.com
  2. In the top navigation bar, click Files
  3. Navigate to the directory where you would like to create a file
  4. Click the New File button in the toolbar
  5. In the first field, enter the file’s name. Be sure to add the file extension in the file name
  6. In the second, larger field, enter your file’s contents
  7. Click the Create File button
  8. Click Create File

The file will be saved as your chosen filename in the directory where you clicked the + New File button.


Updated on June 4, 2025

Was this article helpful?

Related Articles

Need Support?
Can't find the answer you're looking for?
Contact Support