WP Enthusiast WP Professional WP Professional Plus PairSIM WordPress Podcast Websites
Using images on sites helps make the content engaging and eye-catching. But how do we position images in our WordPress posts? This article will show you how.
If you are using the Classic Editor, see our How to Align Images in WordPress article.
How to Align Images in WordPress
Once you’ve uploaded and added an image into your content, you can change its alignment.
Click on the image you have added to your content. A toolbar will appear. This toolbar contains the alignment options for this image.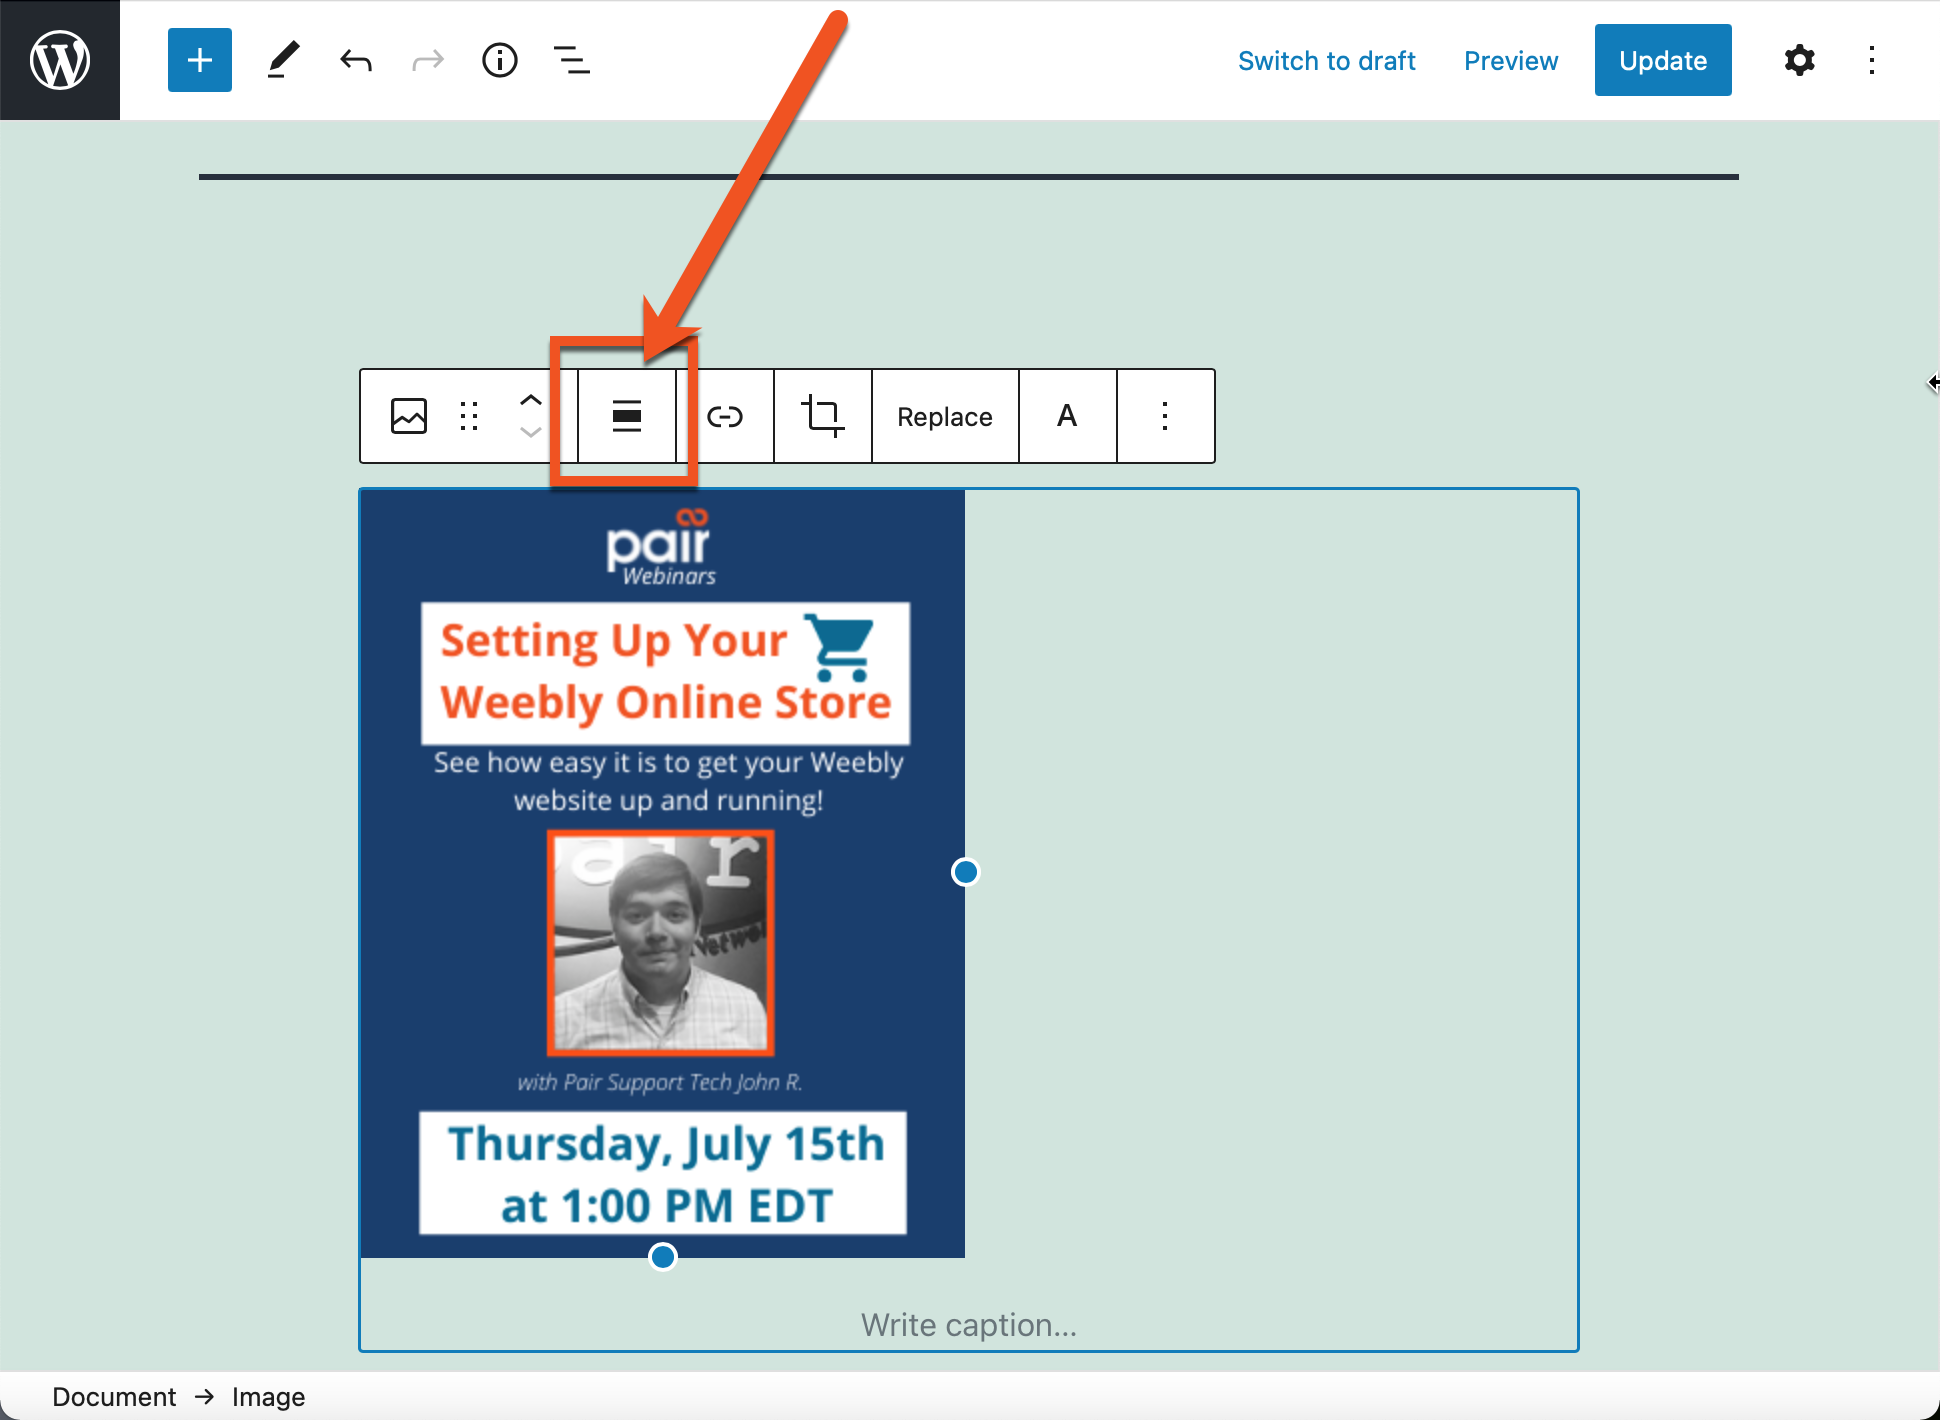
Alignment Options
There are a few alignment options you can choose from.
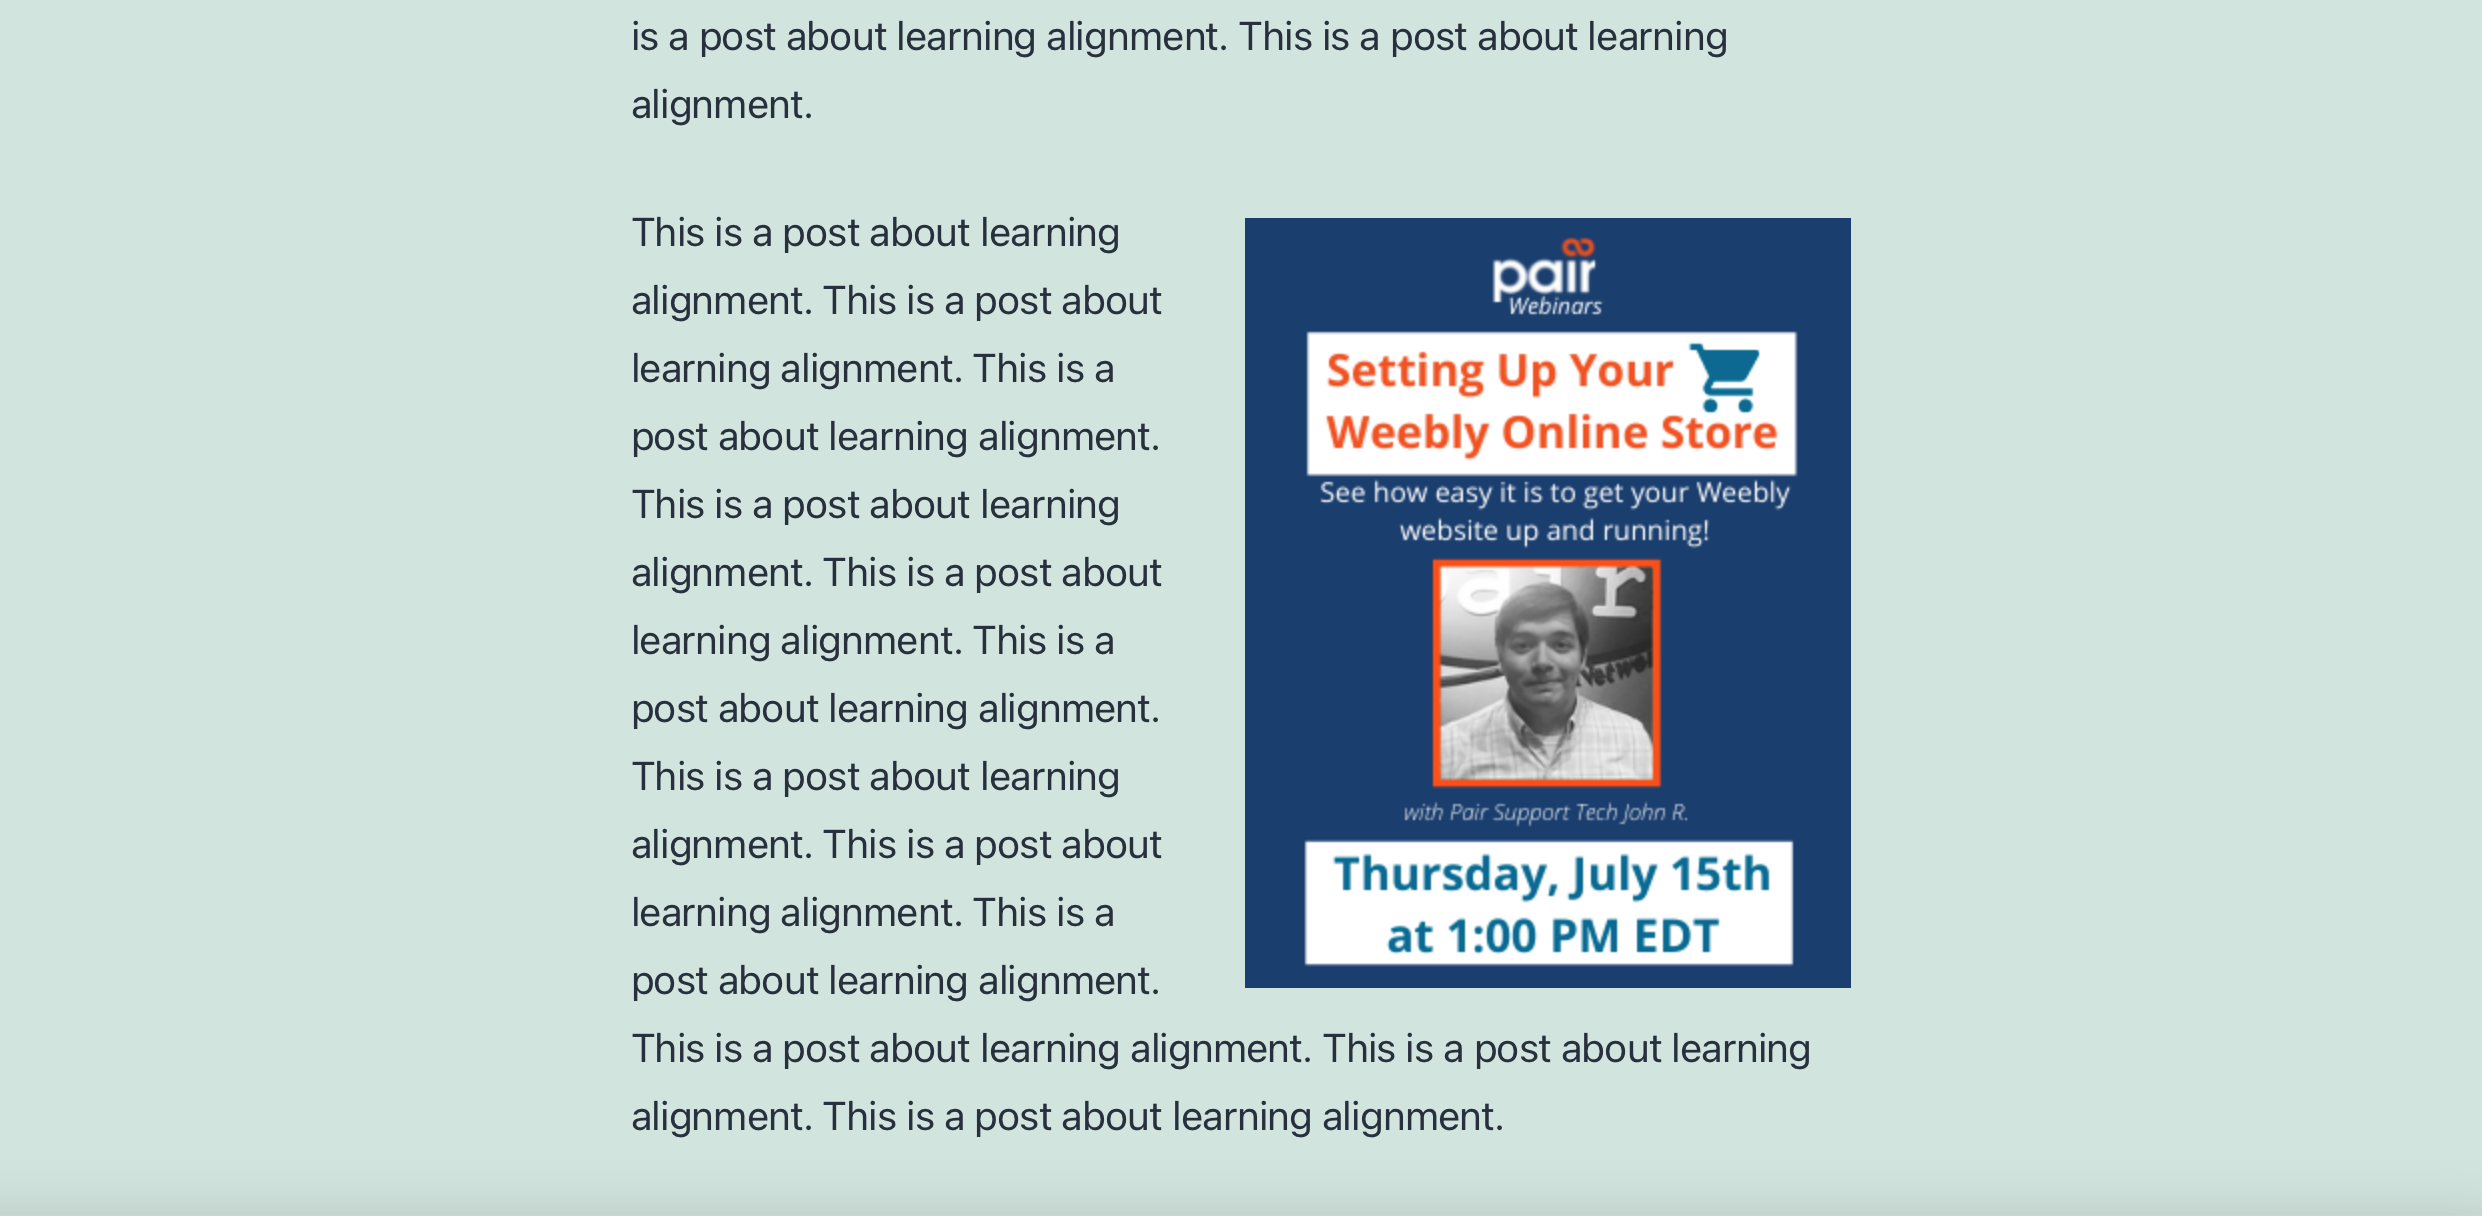
Right Alignment
To align the image right, click the current alignment icon, then select Align right from the drop-down.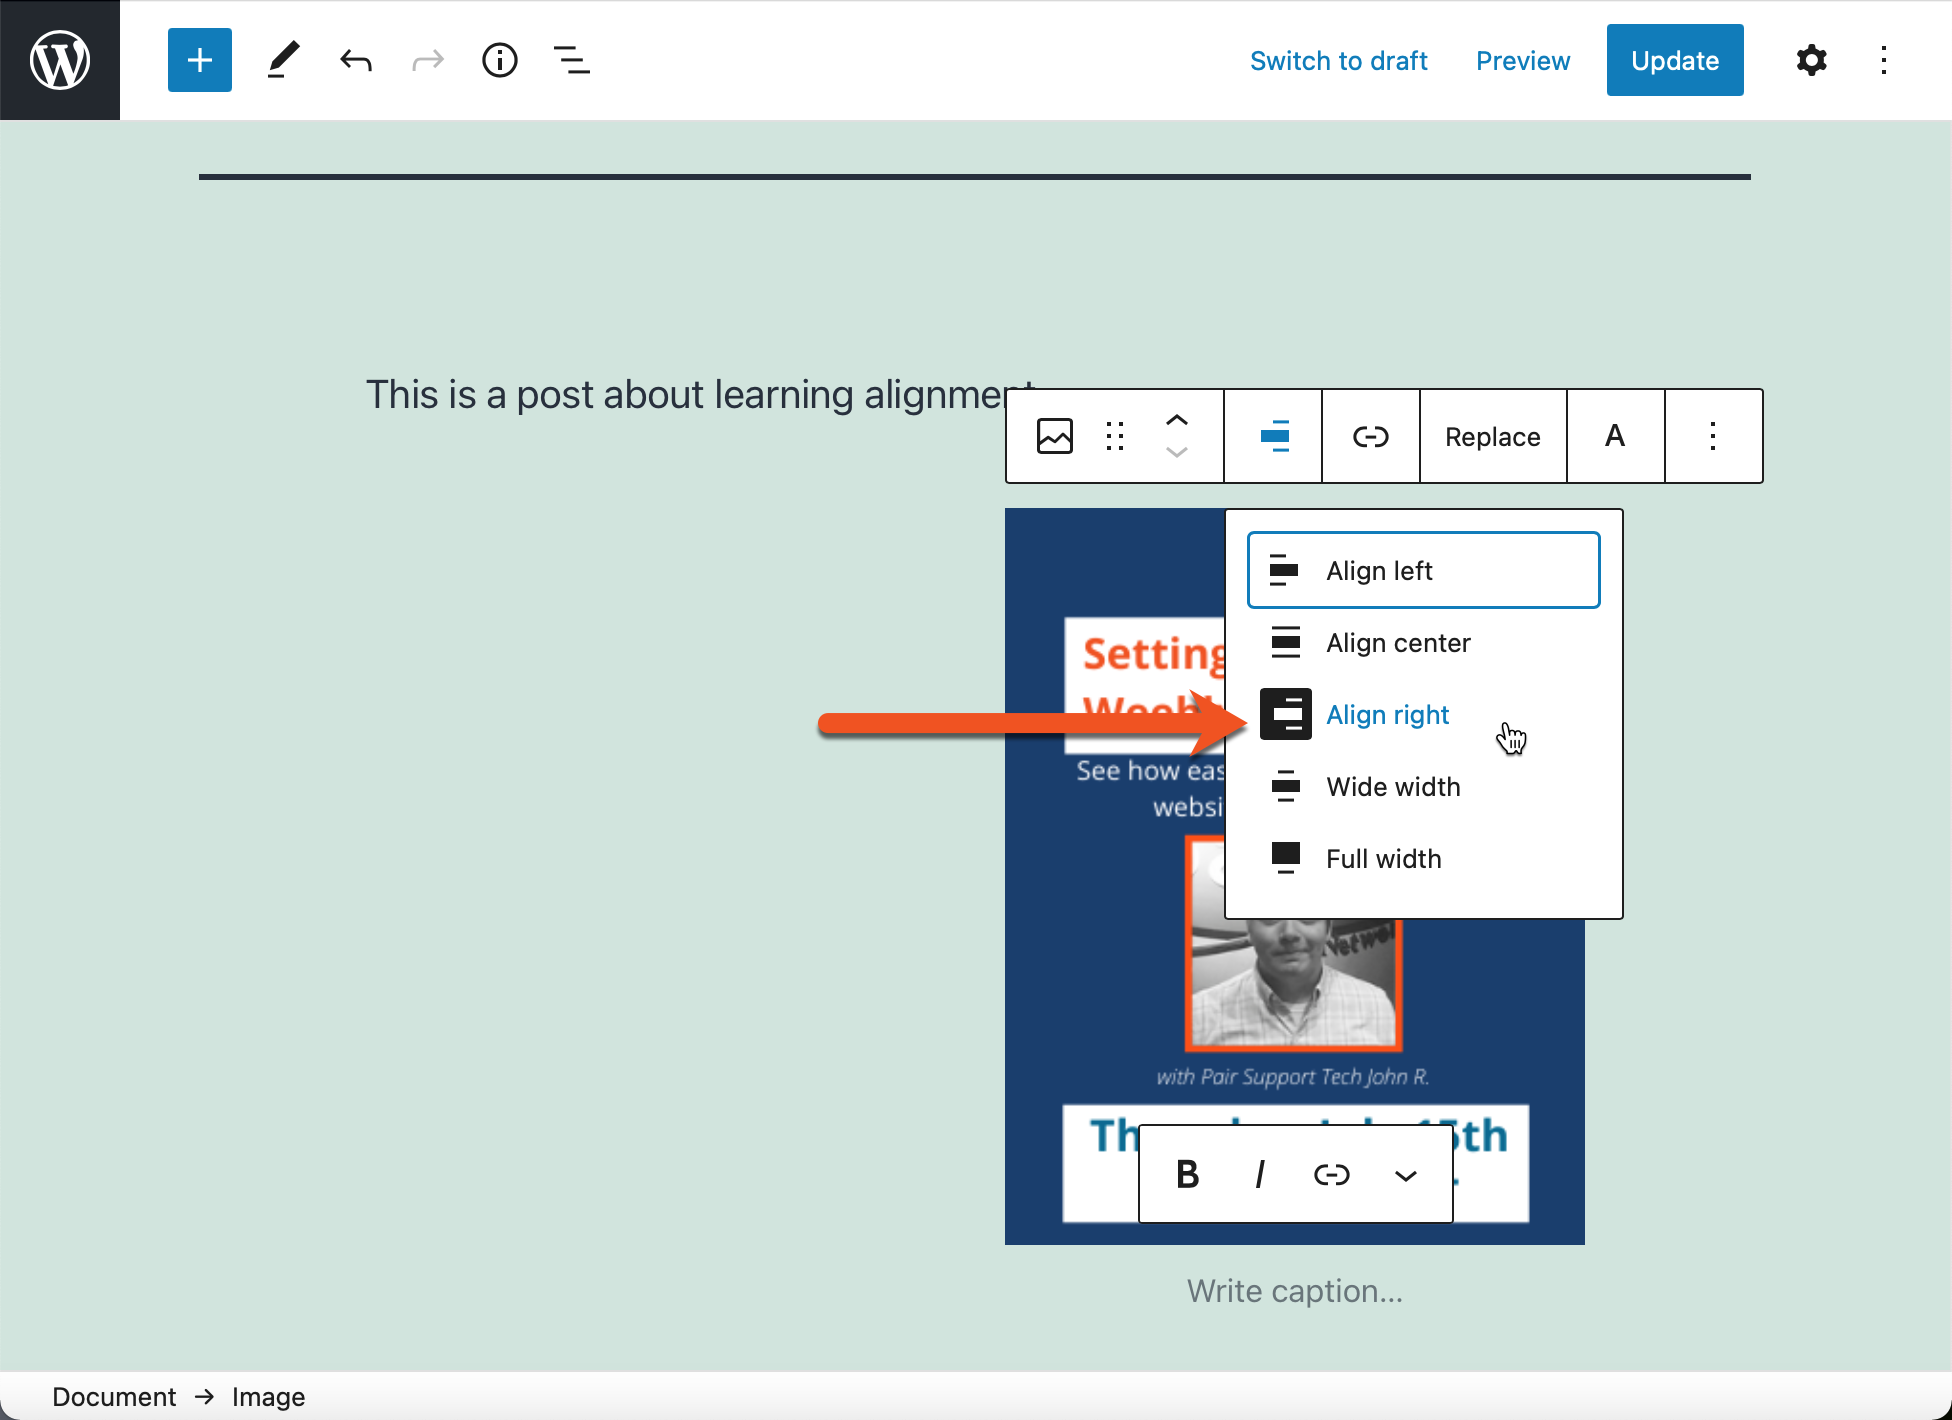
Near blocks will automatically be positioned to the left of the image.
Center Alignment
To align the image right, click the current alignment icon, then select Align center from the drop-down.
Near blocks will be automatically positioned above and below the image.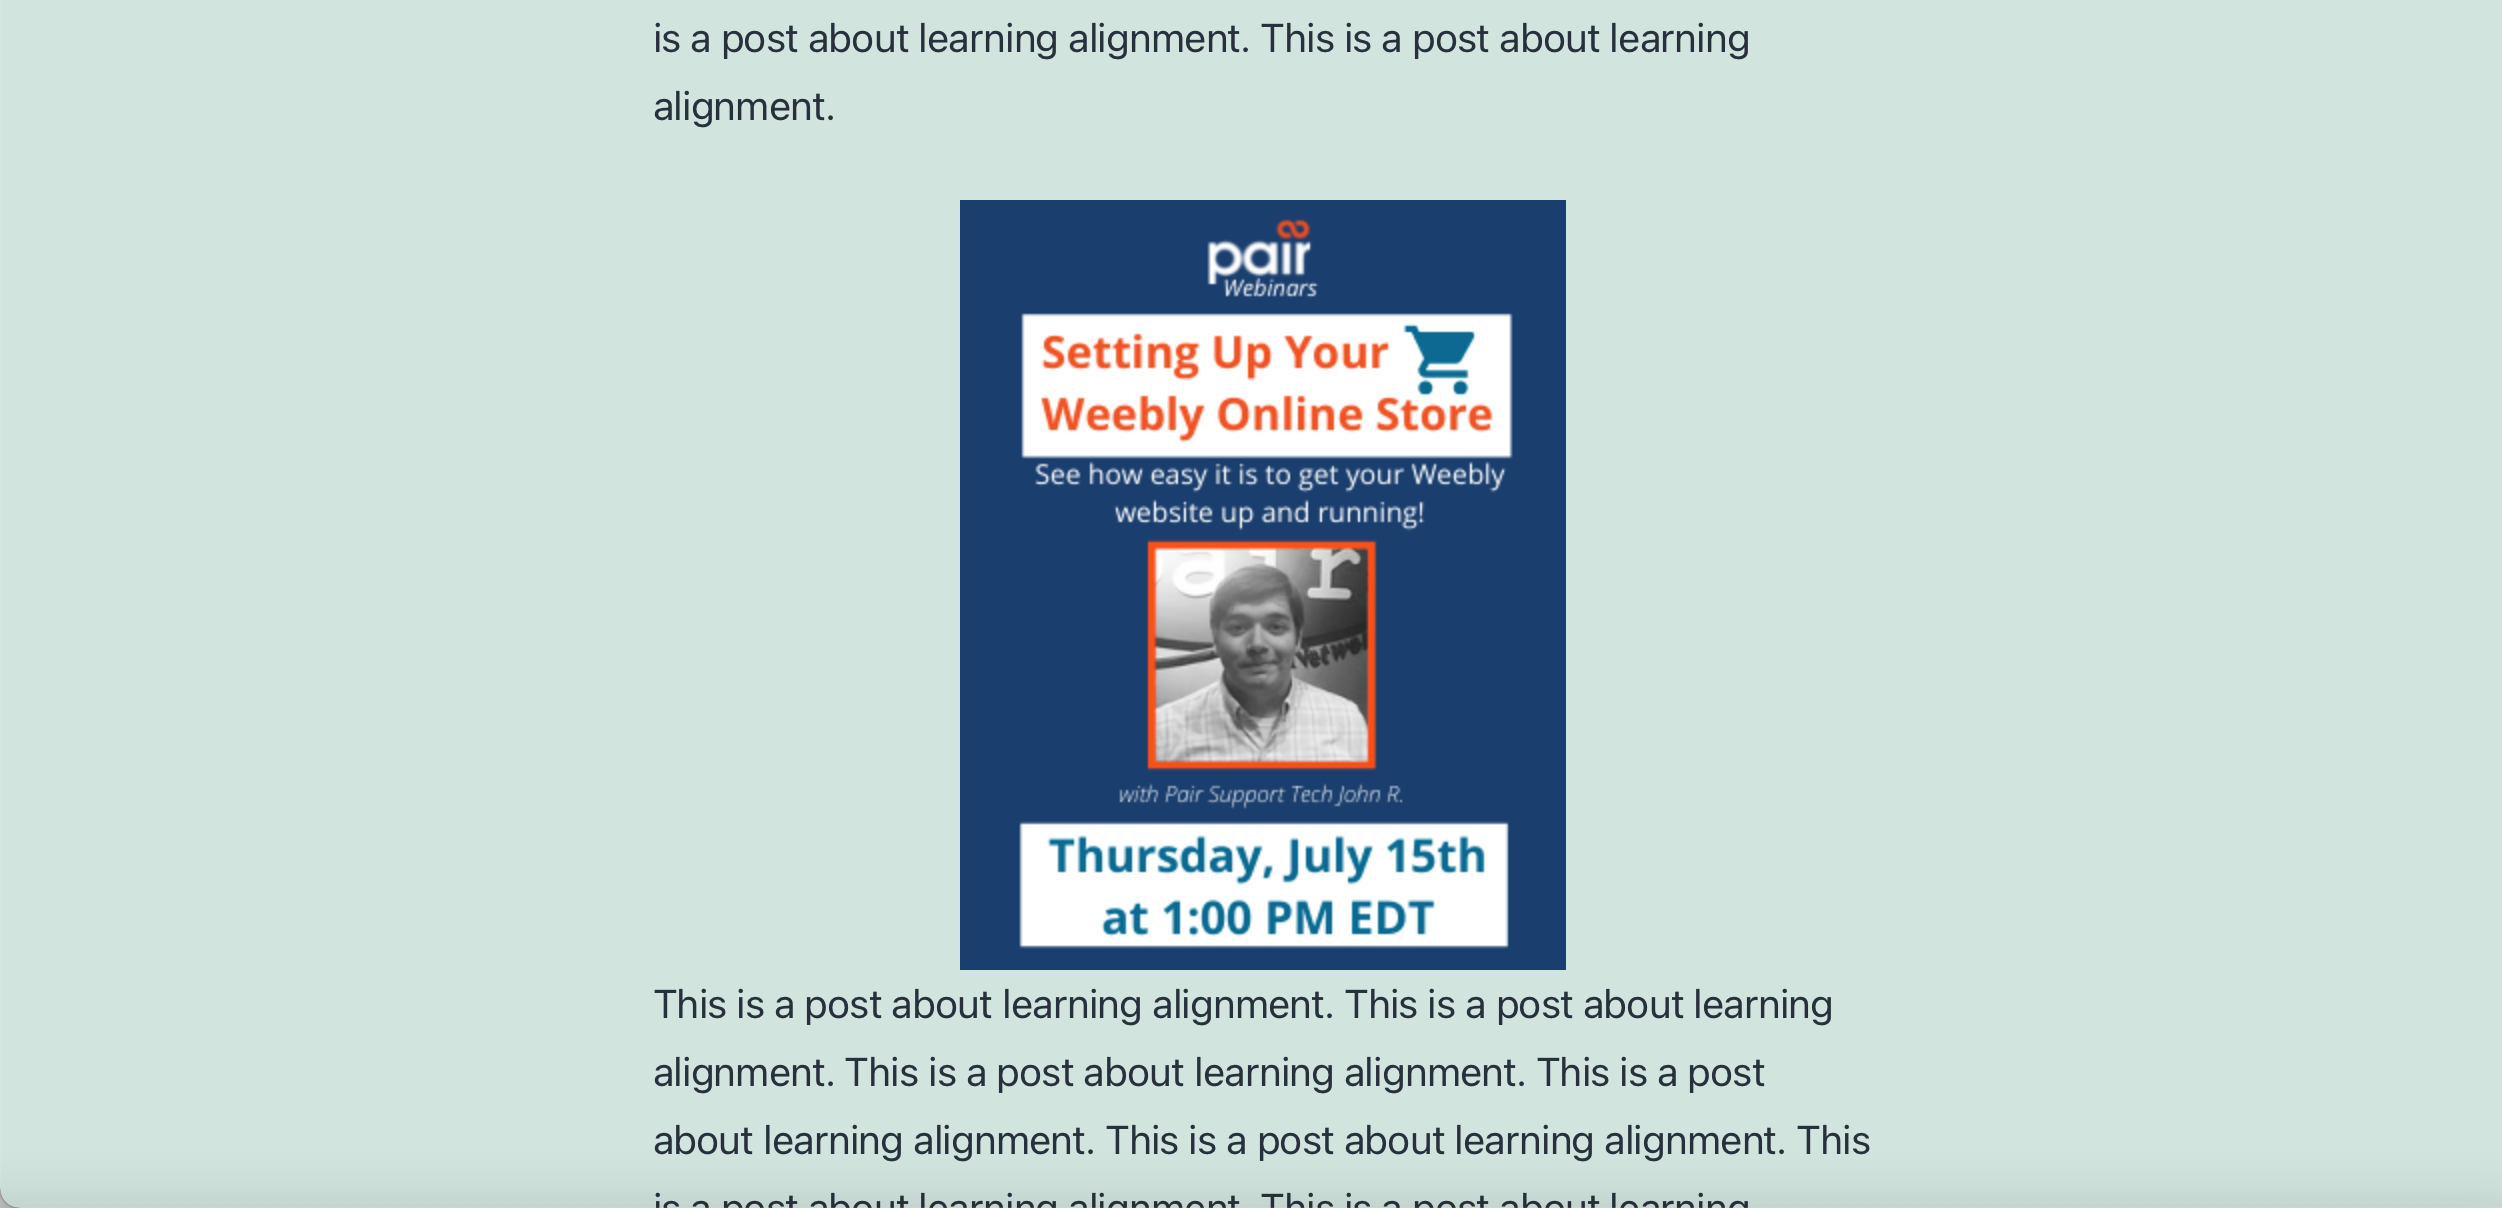
Left Alignment
To align the image right, click the c alignment icon, then select Align left from the drop-down.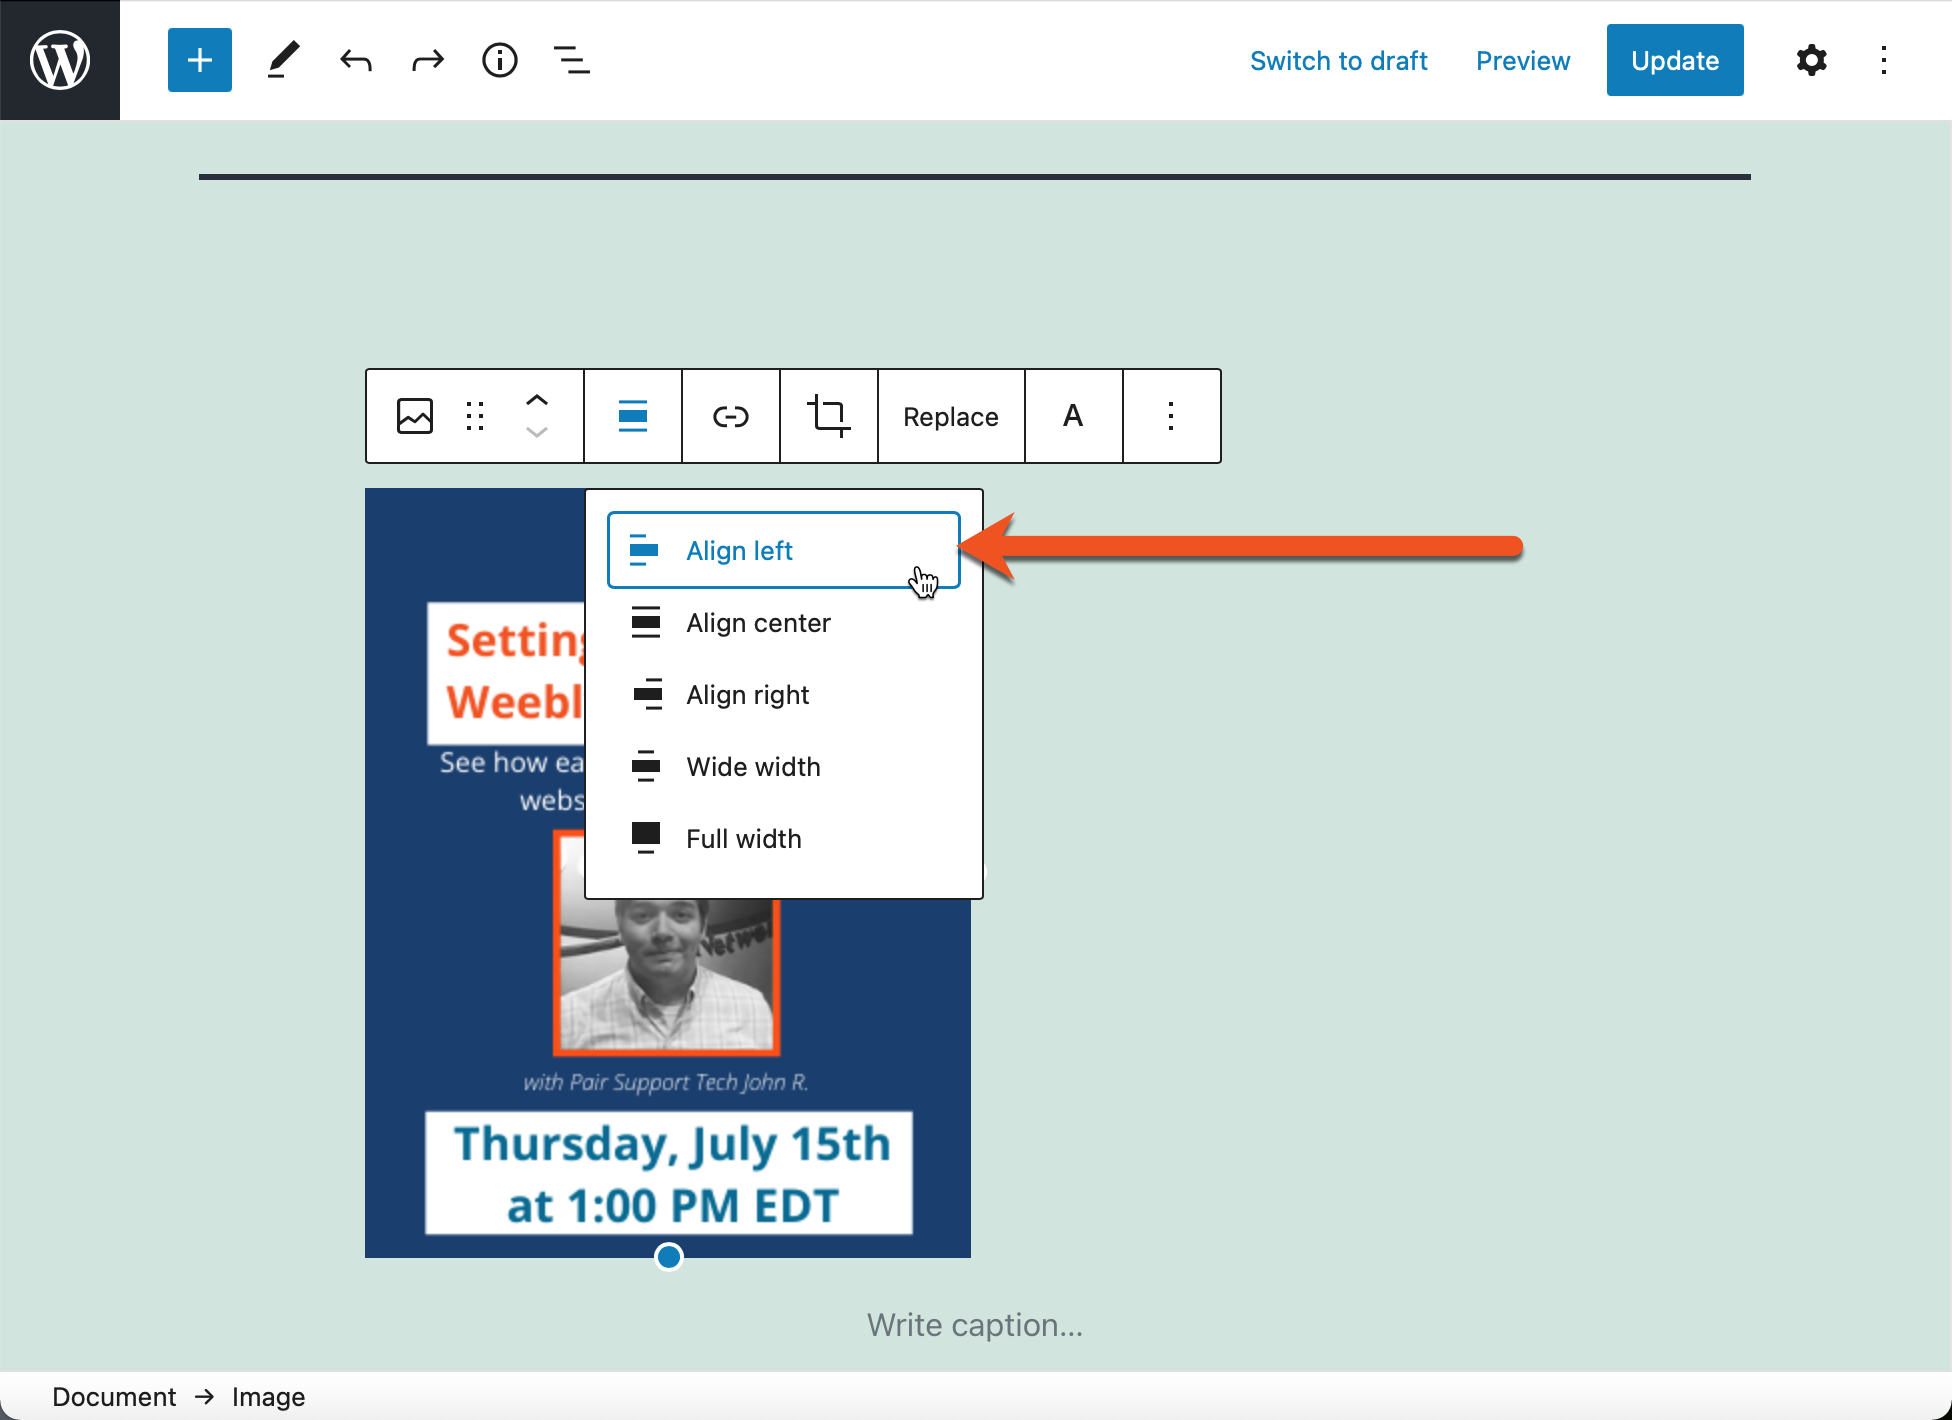
Near blocks will be automatically positioned to the right of the image.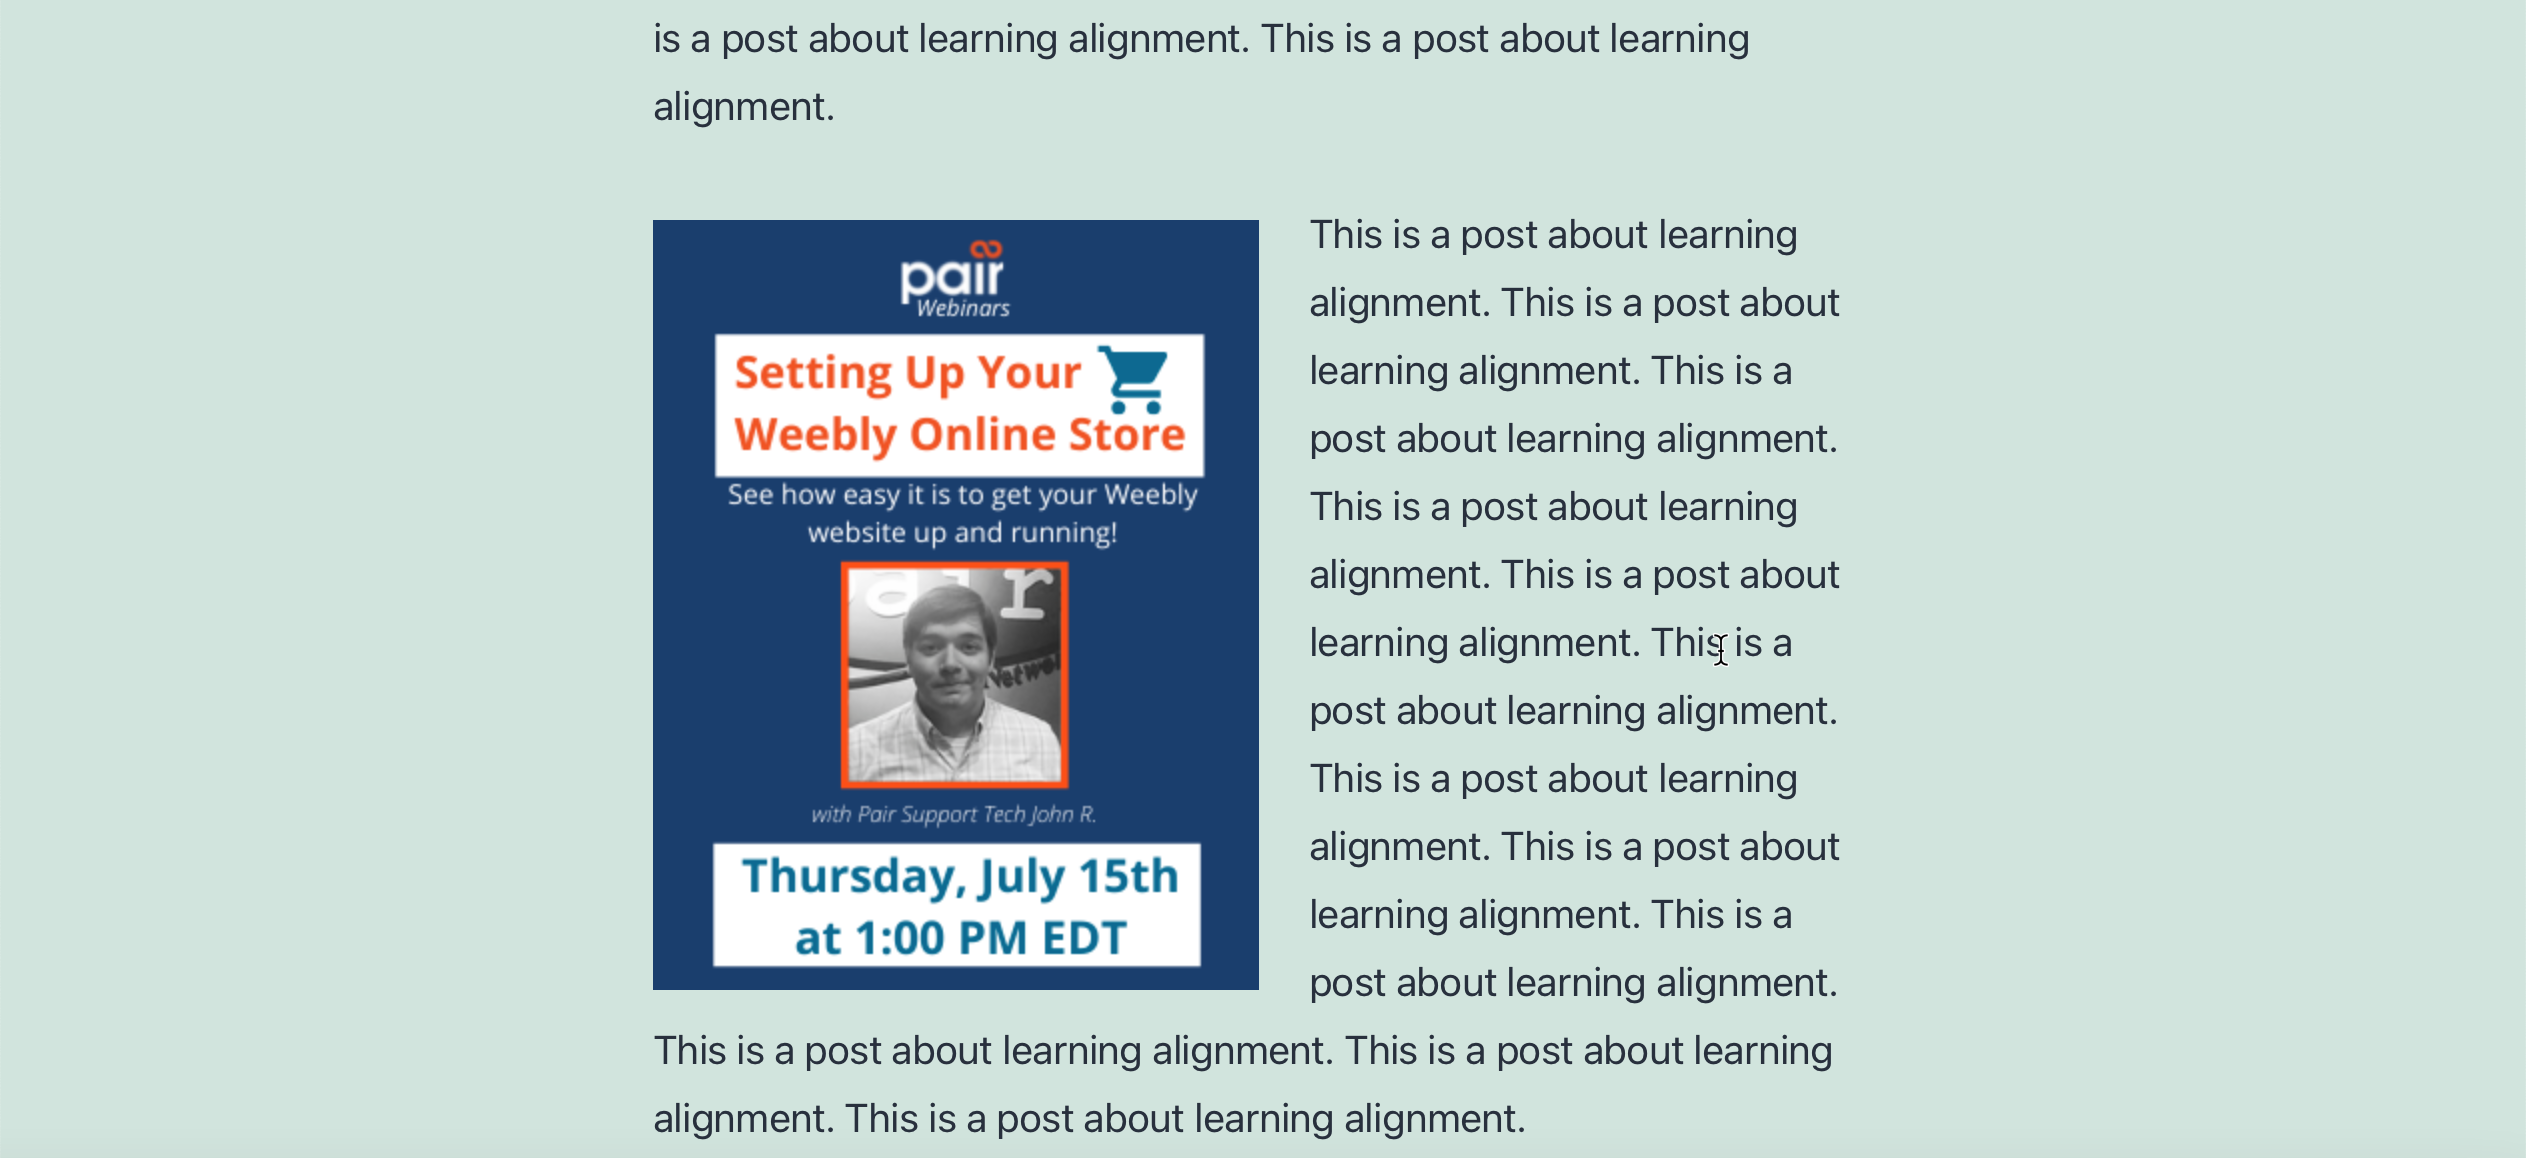
Wide Width
Wide Width alignment takes the image and stretches it out past the current text, while still leaving some room on the left and right. You can select this alignment by clicking the alignment icon, then selecting Wide Width from the drop-down.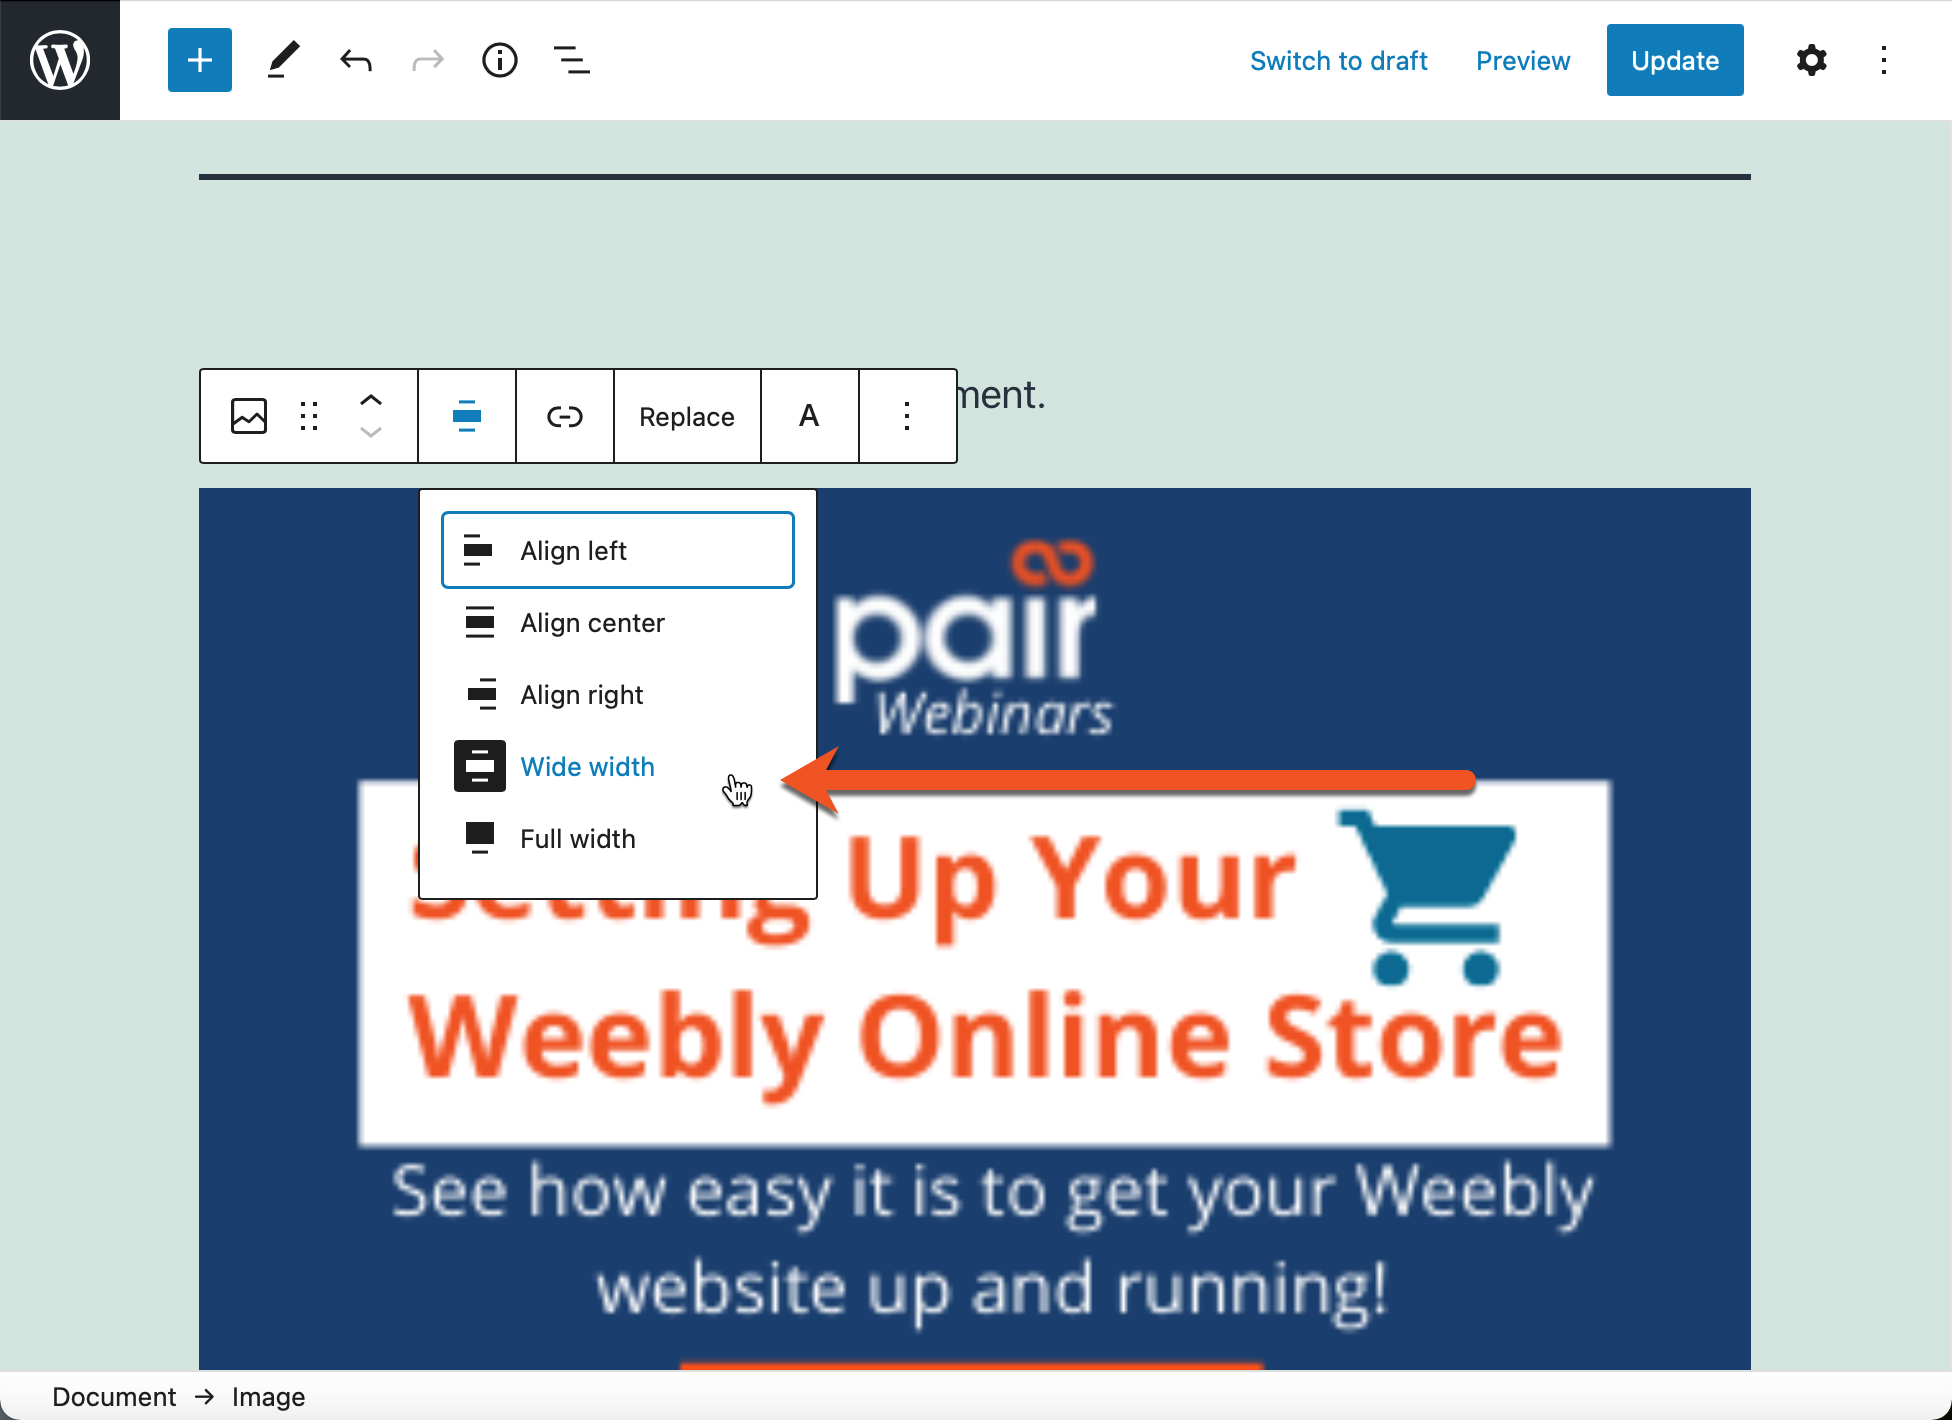
The image will be stretched to fit the new alignment.
Full Width
Full width is similar to Wide Width, except that it does not leave any room on the left and right. When Full Width is selected, the image is stretched to meet the end of the page on both the left and right sides.
To use the Full Width alignment, click the alignment icon and select Full Width from the drop-down.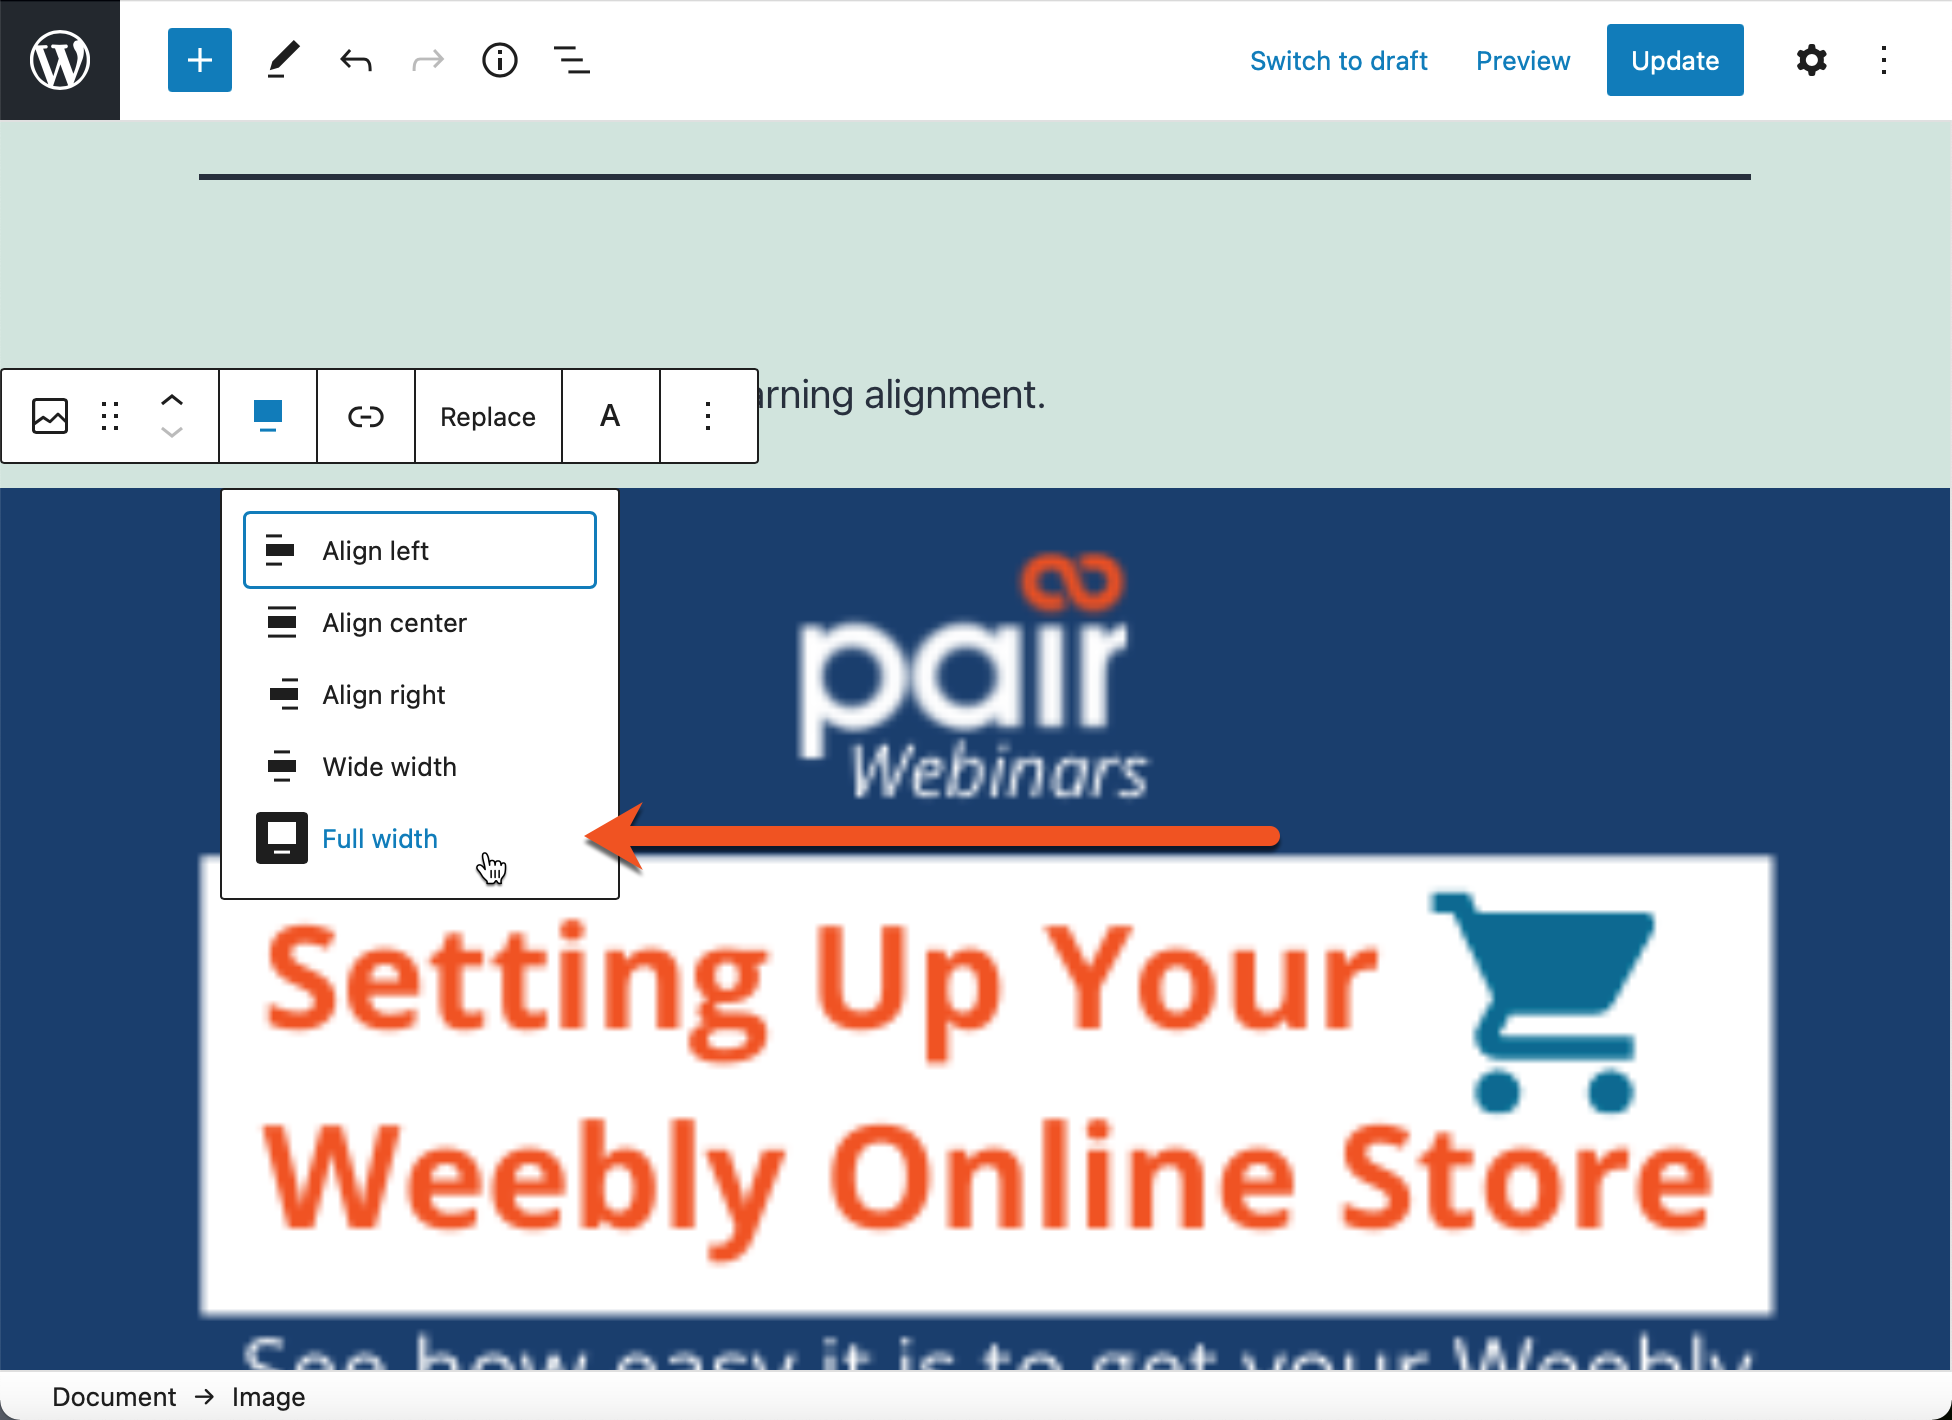
The image will be stretched to meet both the left and right sides of the page.