PairSIM is a software installation manager that makes downloading and managing popular software easy. You can use PairSIM to install Geeklog, a dynamic web content manager. Use Geeklog to set up a site or blog with comment support, spam protection, and more! For more information, check out this What is Geeklog? article.
Geeklog Installation with PairSIM
Follow these steps to install Geeklog using PairSIM.
- Log in to the Account Control Center (ACC)
- In the left sidebar, click PairSIM and click Software Installation Manager in the drop-down
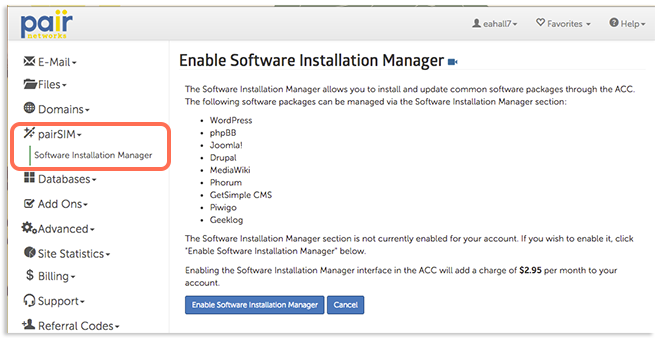
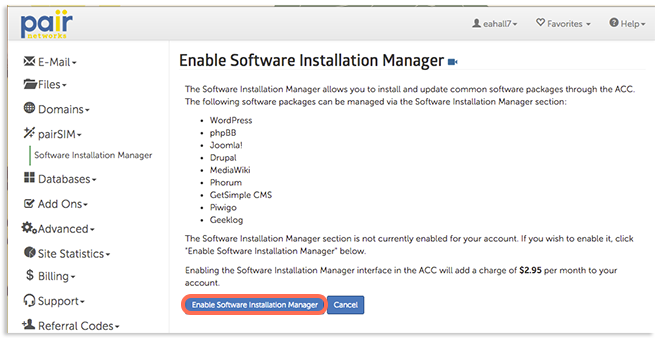
- If you have not yet enabled PairSIM, do so now by clicking Enable Software Installation Manager
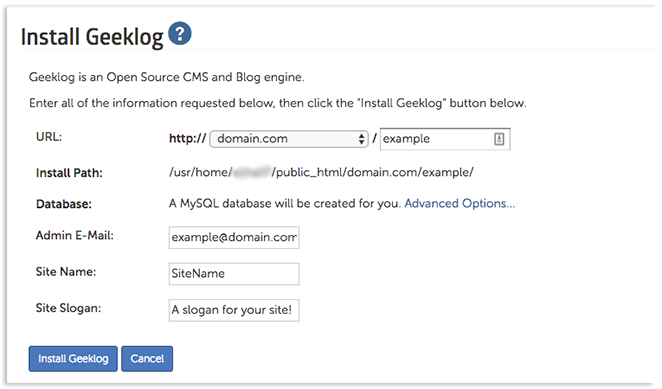
- URL: Select the domain name from the drop-down and enter the desired extension in the box.
- Database: A database will be created for your Geeklog installation. If you want to name your database, click Advanced Options and then enter the name in the open box.
- Admin E-Mail: Enter the email that will be used for admin purposes. Information regarding this installation, such as your Geeklog credentials, may be sent to this address.
- Site Name: Enter the name of the site.
- Site Slogan: Enter a slogan that will be associated with your site.
If installed successfully, a page will appear telling you that your Geeklog installation was successful and show some information about your installation.
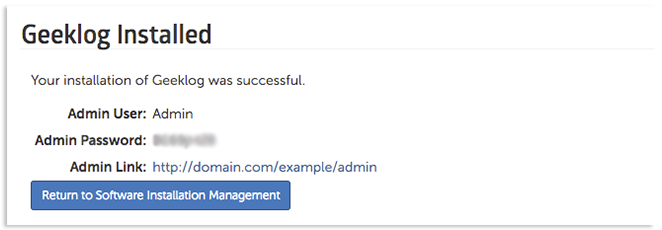
When finished, click Return to Software Installation Management.
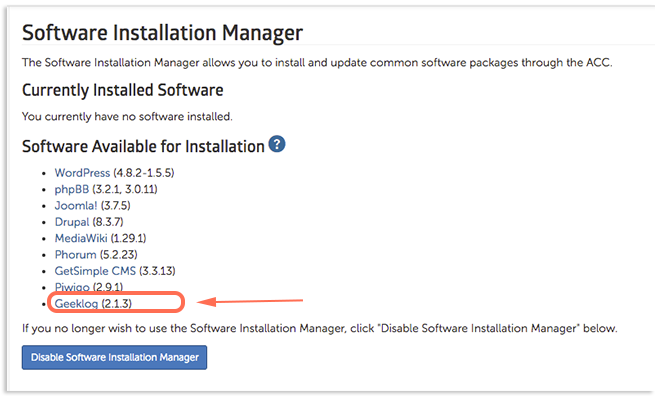
This will return you to the Software Installation Manager interface, which will now show your currently installed software. Geeklog should now be shown in the Currently Installed Software section.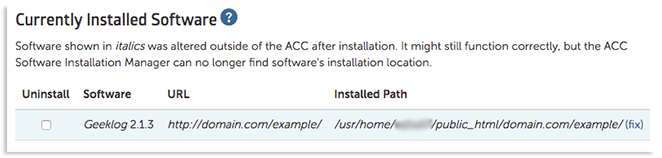
After Installation
Need some help getting started? Check out these helpful articles: