WP Enthusiast WP Professional WP Professional Plus PairSIM WordPress
If you use Mailchimp, you can put a connected form on your WordPress site. The form will automatically add entries to your MailChimp mailing list. For instructions on how to add a form to your WordPress site, read below.
For instructions on how to do this in the Gutenberg Block Editor, see our article: Block Editor: Adding Mailchimp Form to Your WordPress Site article.
If you use Mailchimp, but don’t use WordPress, check out our other MailChimp Form articles:
Step 1: Create an Mailchimp Audience
Your first steps will be in Mailchimp. If you have not yet created an audience, follow the steps in this section. If you have already created an audience, you can skip to the Create a Mailchimp Form section.
- Go to the left navigation bar, click Audience, then click Audience Dashboard in the drop-down.
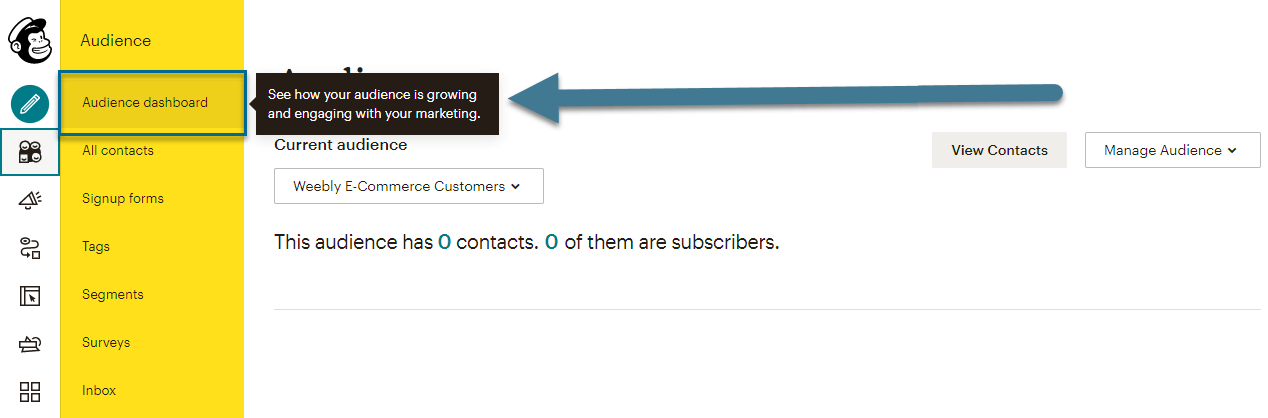
- Then on the right side of the screen, find and click the Manage Audiences tab.
- In the drop-down, click View audiences.

- Then at the top of the next page, click the Create Audience button. This will take you through the audience creation process.

Step 2: Create a Mailchimp Form
Once you have an audience created, it’s time to create your opt-in form!
To do so, follow these steps:
- Go to the left navigation bar and click Audiences. A drop-down will appear. In this drop-down, click Signup forms

- Then, under the Current audience header, select the audience you wish to create a form for.

- Next to Embedded forms, click Select
- In the left sidebar, you will see a list of form options. Edit the form options as you see fit. Note that you can change the form type by selecting Classic, Condensed, Horizontal, etc.
- Copy the code under the Copy/paste onto your site header

- Now go to your WordPress site
Step 3: Add the Form to Your WordPress Site
Once you’ve logged in to your WordPress, navigate to the page or post you'd like to add the form to. Once there, click on the Text tab in the toolbar.
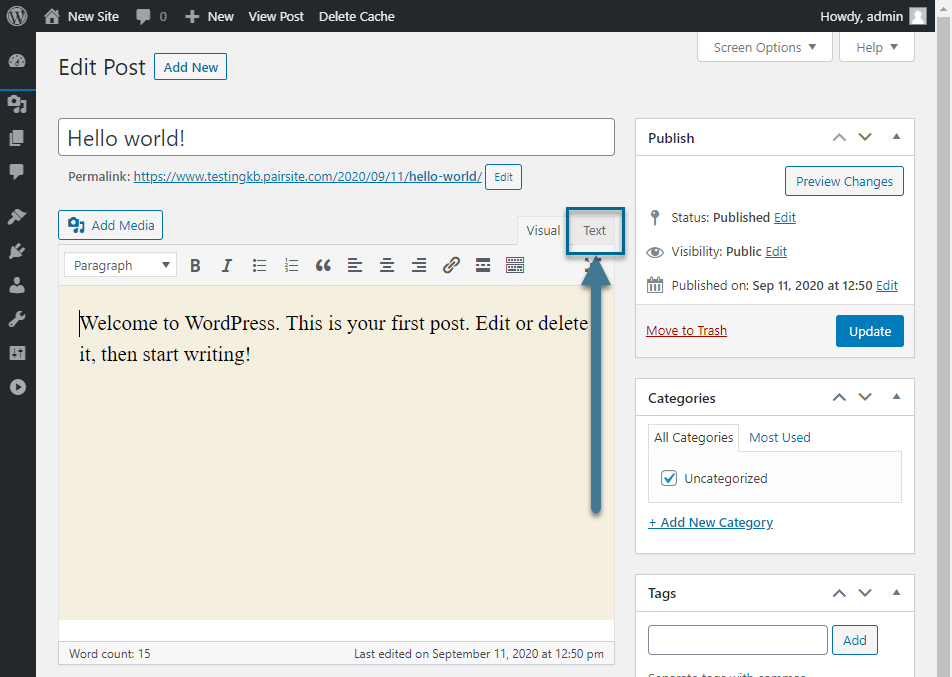
This will open up the HTML editor for your post or page. Navigate to the location where you would like to add the post, then paste the code you copied from Mailchimp. To see what your form looks like (and to make sure it is displaying correctly), you can use the Preview button in the top right corner of your screen. Once you are satisfied with your form, you can Update or Publish your post.