WP Enthusiast WP Professional WP Professional Plus PairSIM WordPress Podcast Websites
The Gutenberg Block Editor introduced a way to add columns to your page or post. Using columns can help you add new formatting structures within your content.
How to Add Columns to a Post or Page
To add a column, follow these steps:
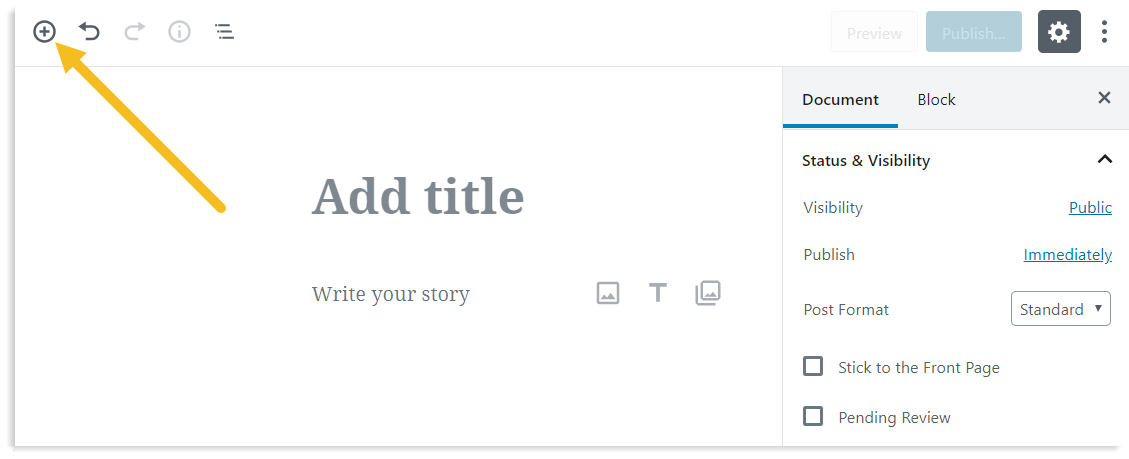
- Log in to the WP admin interface, then navigate to a page or post editor
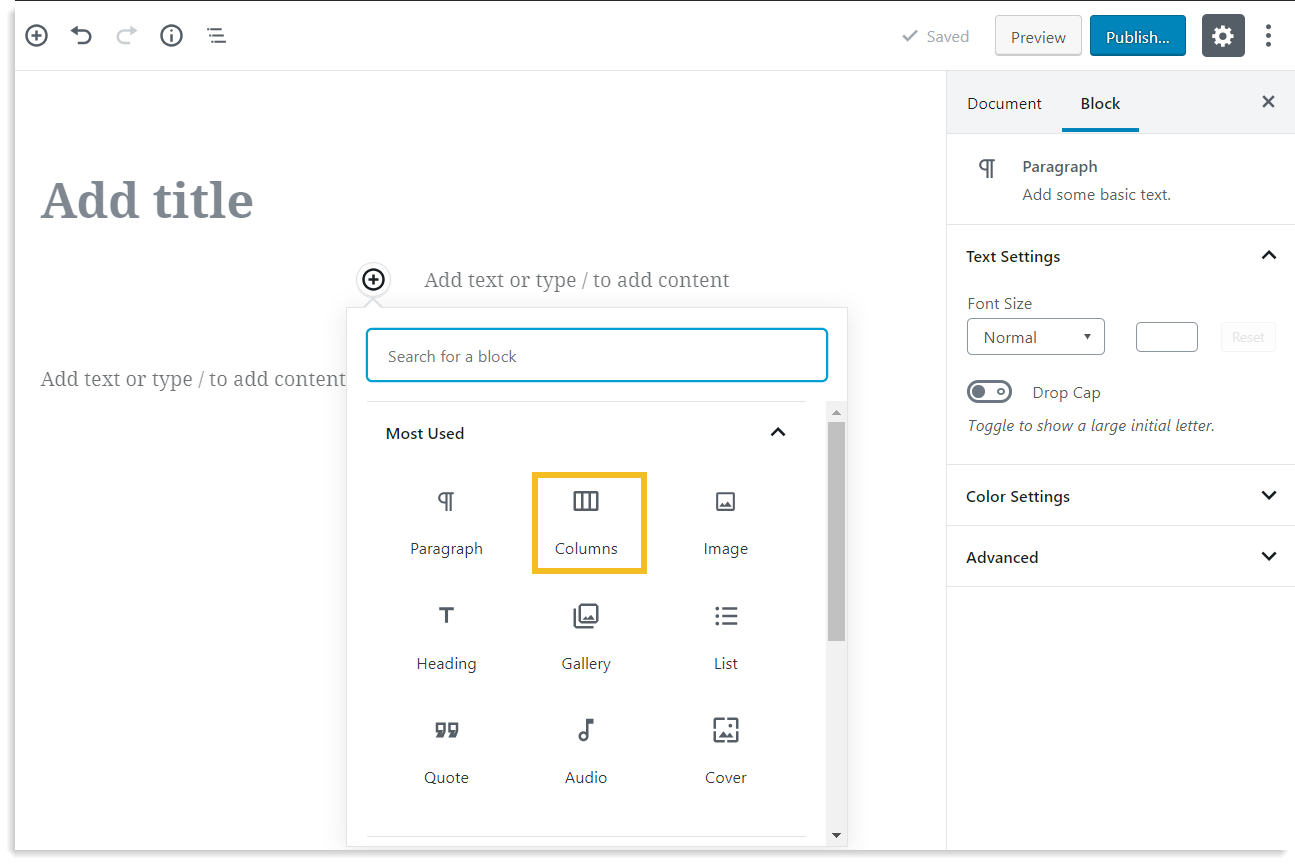
- Click the plus button in the top navbar
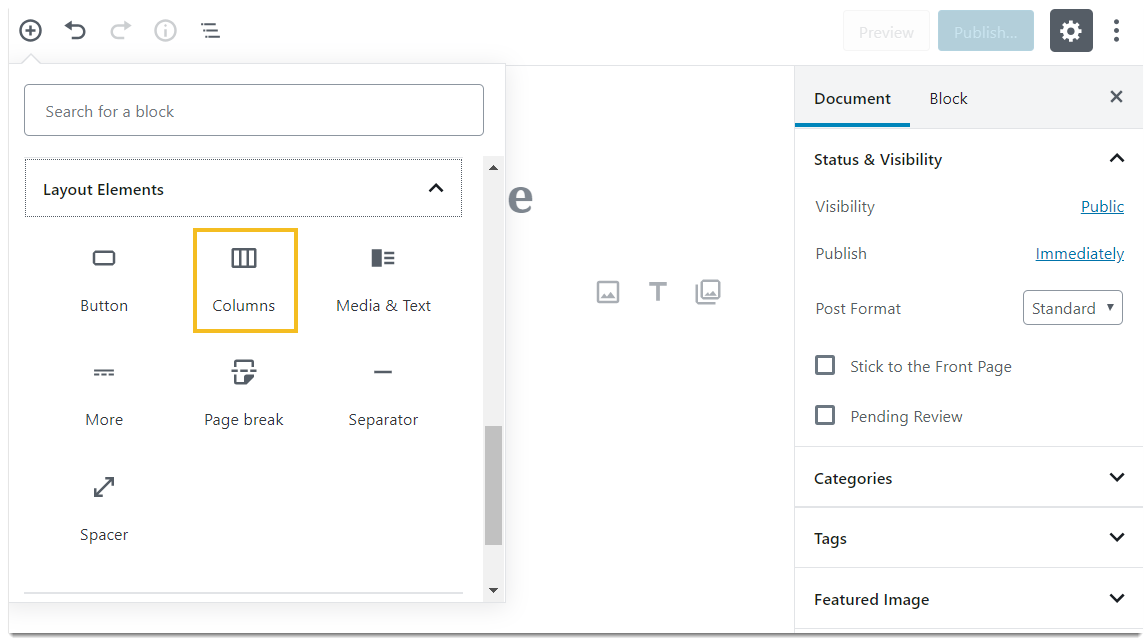
- Find the Columns block and click to add it
A column block will be added to your page or post. By default, the column block will split the content in the section into two columns.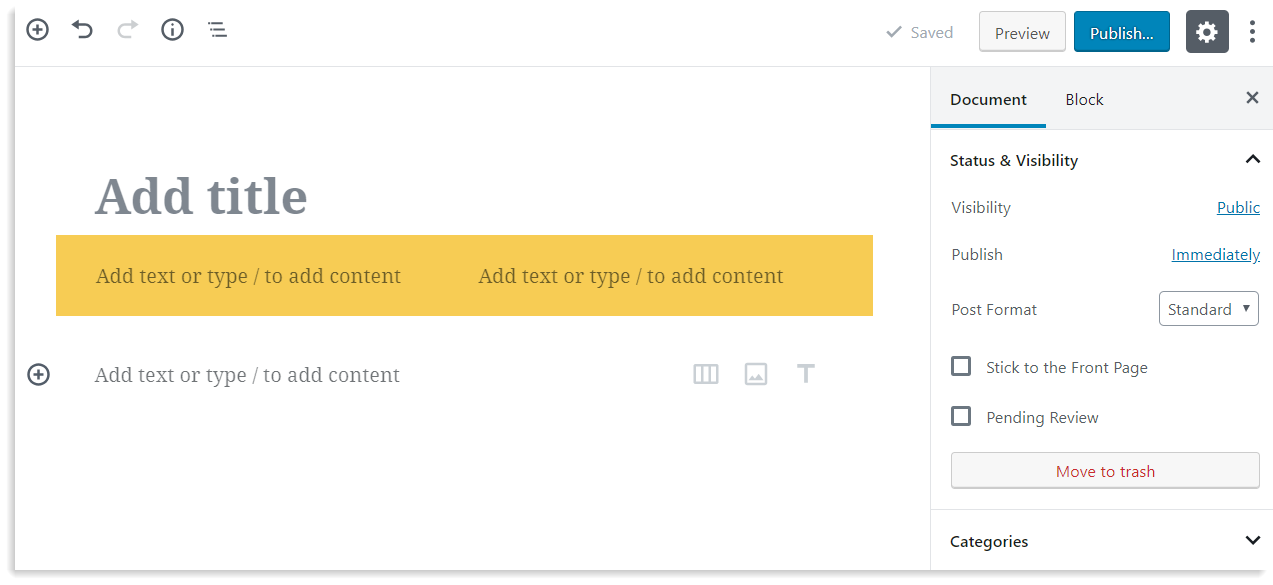
How to Add Content Within Column Blocks
You can add content within the columns. The content will be restricted to the column’s area. To add content within columns, follow these steps:
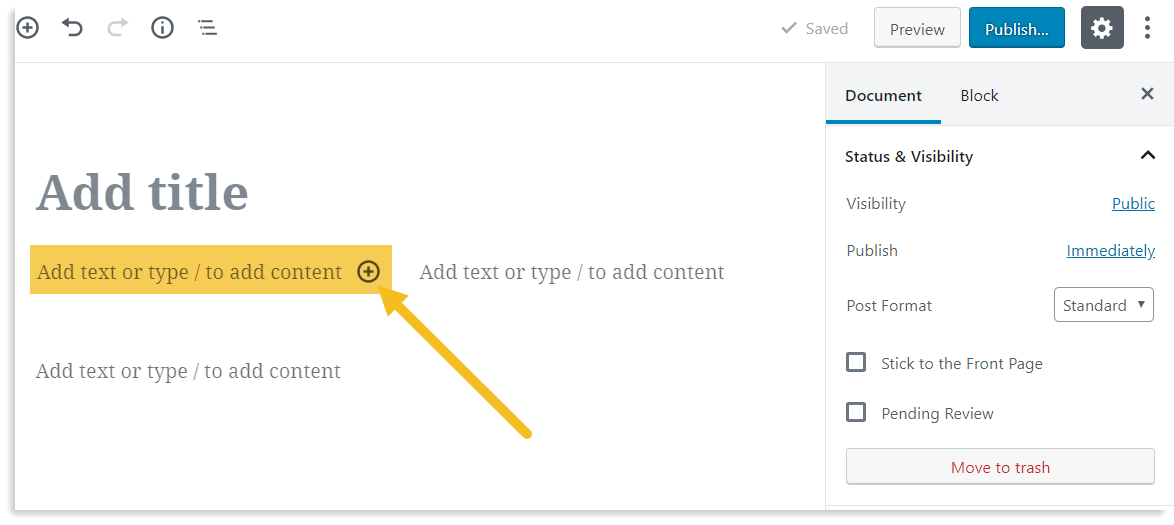
- Hover over the column section where you want to add content
- Click the plus button that appears in that section
- Find the content block you want to add and click it
By completing this process, the content you selected will be added within the column section.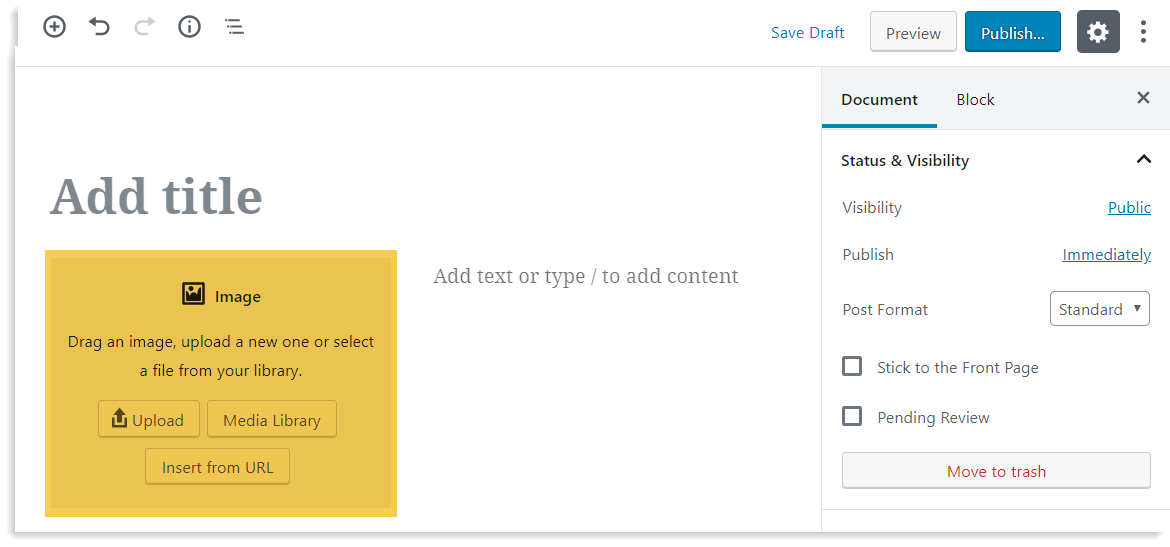
How to Add More than Two Columns
If you want to have more than two columns on your page and post, you can nest column blocks within a column.
- Make sure you have already added a column block
- Hover over the column section where you want to add more columns
- Click the plus button that appears in that section
- Find the Columns block and click to add it
This will add two more columns within one of the already existing columns section. This will result in three columns.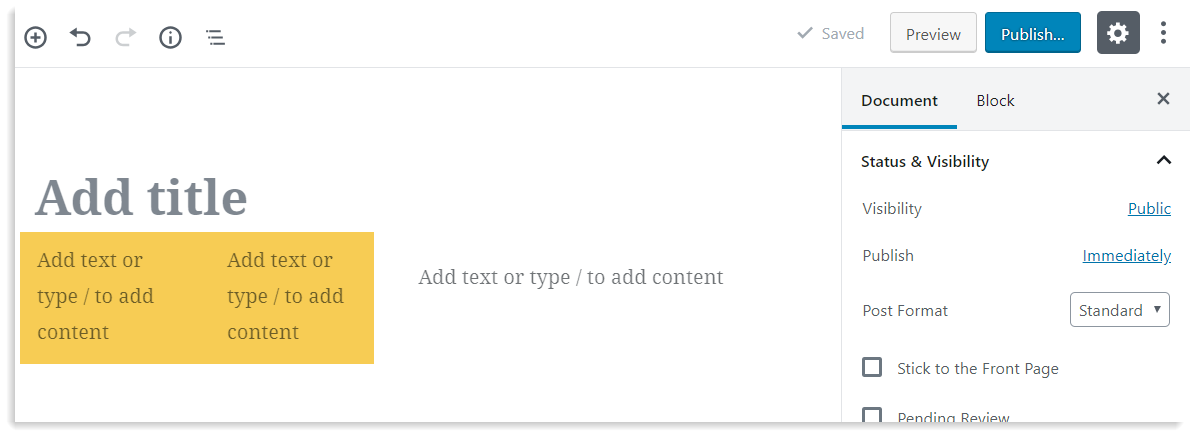
If you wish to have four columns, repeat the process in the other column section that does not yet have nested columns.