WP Enthusiast WP Professional WP Professional Plus Podcast Websites
If you have already created a staging site, you can go back and copy your current live site onto your staging site.
Keep in mind that this will delete the data on the staging site and replace it with the live site data.
Copying a Live Site to Staging Site
If you want your staging site to match the current live site, follow these steps:
- Log in to the Account Control Center (ACC)
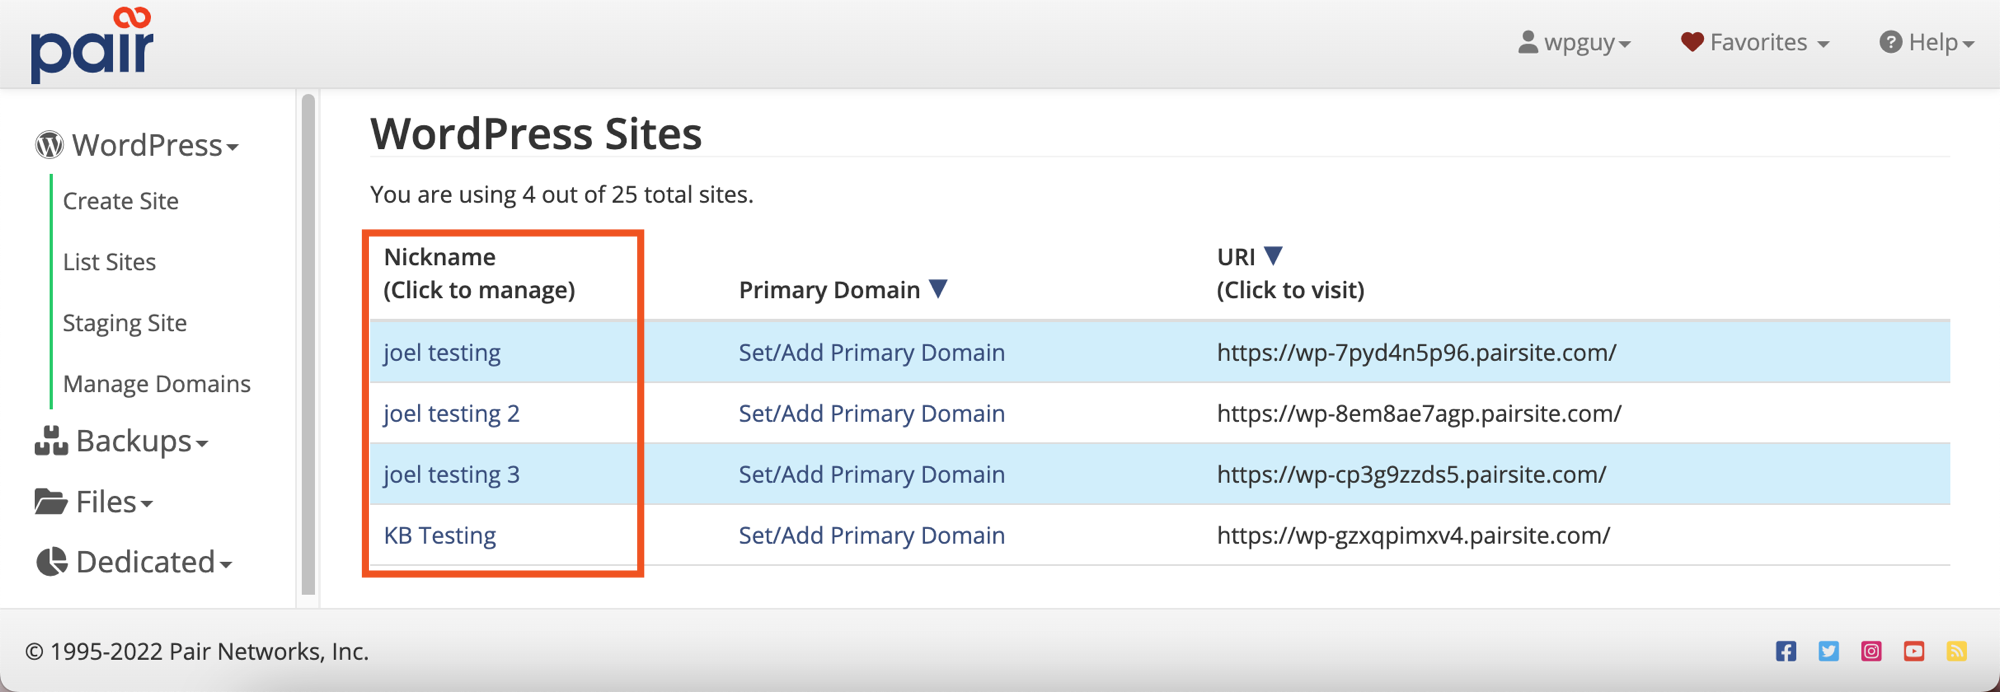
- Click WordPress in the left sidebar, then click List Sites in the drop-down
- Click the Nickname of your site

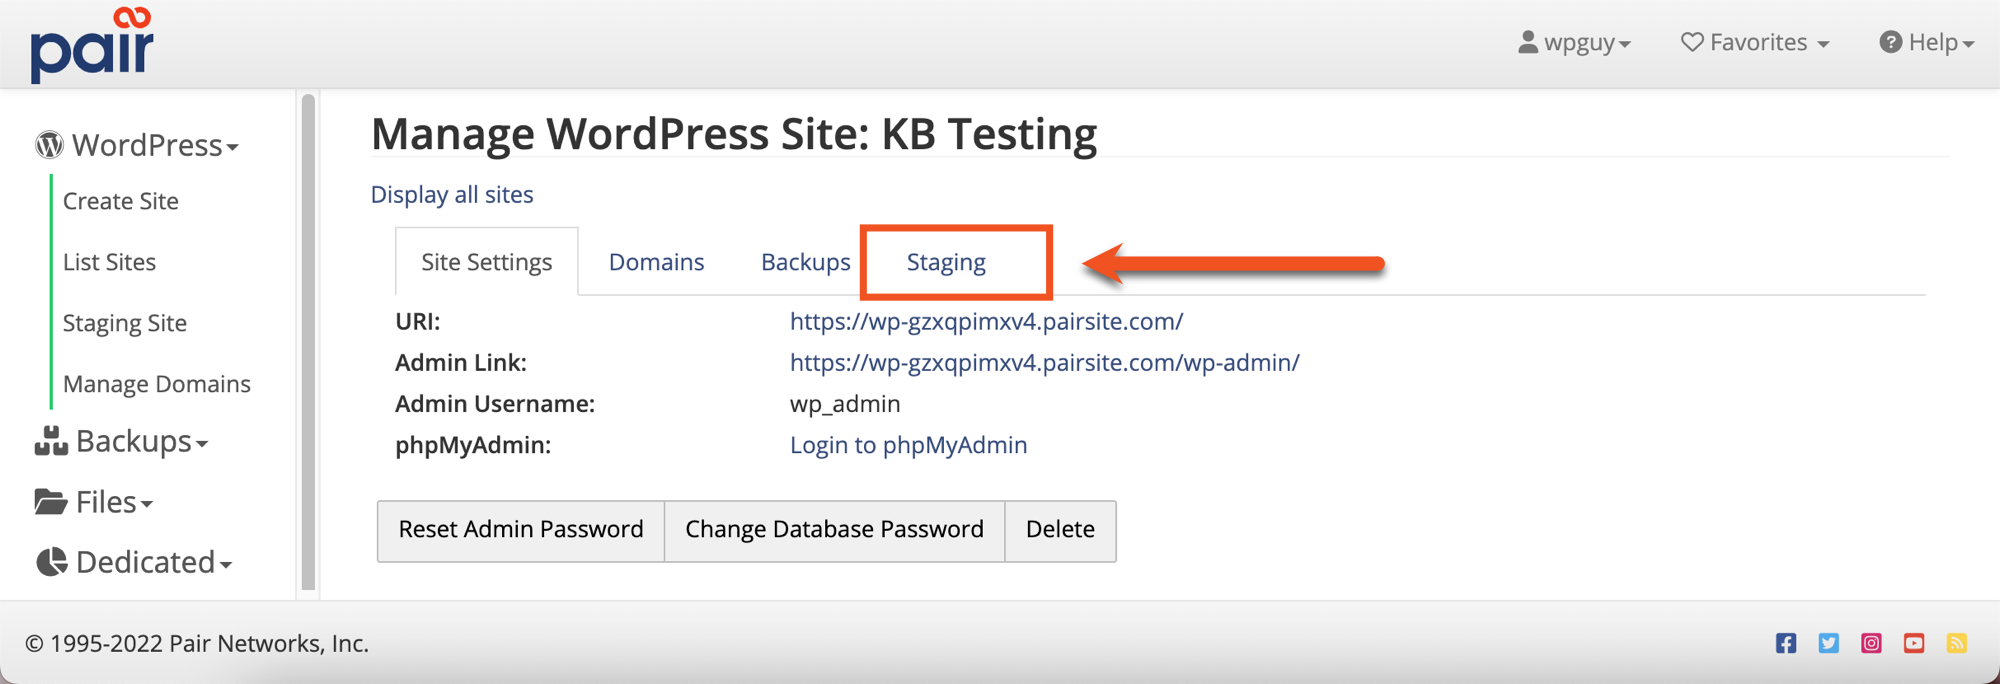
- Click the Staging tab

- If you don't currently have a staging site active, click the Activate Staging button. If you do have a staging site active and want to overwrite it, click the Stage Site button.

- Click the Copy Live to Staging button

The process to copy the live site to the staging area will now begin. Please be patient while this takes place.
If finished successfully, you will be returned to the staging interface and see a green banner telling you the process was successful. The next page will also hold your staging site's URL and WordPress admin login link.
Since you copied your live site, you can log in to your staging site's admin interface using the same login credentials.
