What is WinSCP?
WinSCP is an open-source SFTP/FTP client for Windows operating systems. You can use it to transfer large batches of files on and off of your Pair Networks server. It can use the following file transfer protocols:
- FTP
- FTPS
- SCP
- SFTP
- WebDAV
- Amazon S3
WinSCP can be downloaded for free from the main WinSCP site. You can also download it from Microsoft App Store for an additional fee.
Once downloaded and installed, you can begin using it to manage your file transfers.
How to Use WinSCP with Pair Networks Servers
Using WinSCP requires first getting the client setup before you can access your server. Once WinSCP is correctly configured, you can use it to transfer and upload files to your server.
Connecting Your Pair Account with WinSCP
When logging in to WinSCP for the first time, you will be prompted to enter information to establish a new connection. This connection is necessary for you to access your Pair Networks hosting account.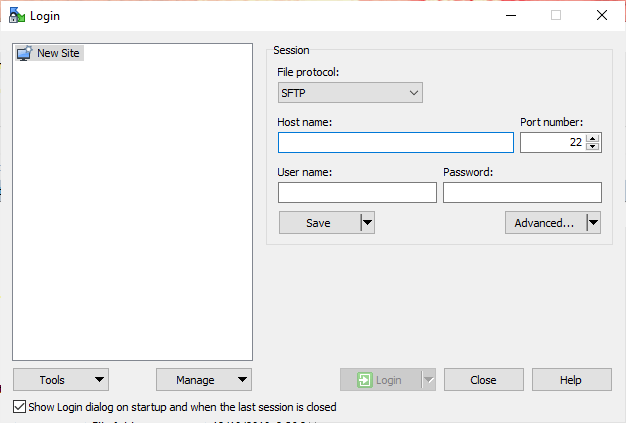
If you accidentally exited out of the new connection window prompt, you can click the New Session button to reopen it.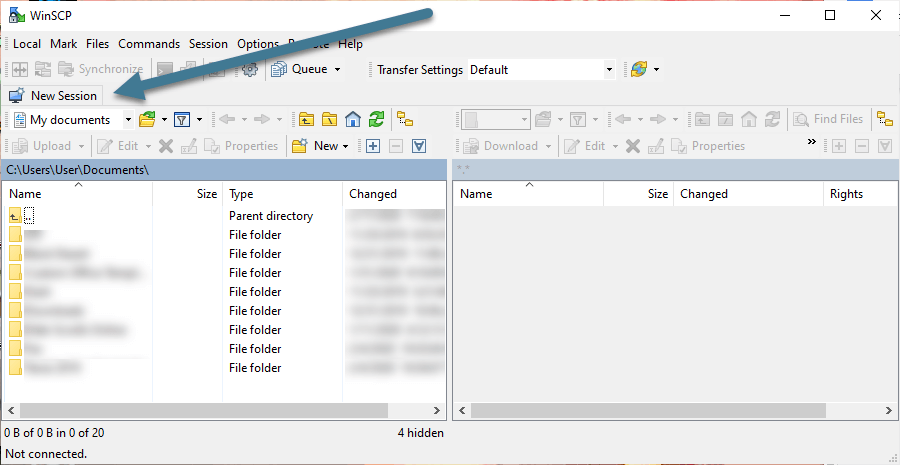
| File Protocol | Select the file protocol you would like to use. Amazon S3 and WebDAV will not work with Pair Servers |
| Host Name | Enter your account hostname. This is usually username.pairserver.com with username being replaced with your Pair Networks username.
You can find your exact host name listed on the homepage of your account. |
| Port Number | This will vary based on the file protocol your choose, but usually:
|
| Username | This is your Pair Account Username |
| Password | This is your Pair Account Password |
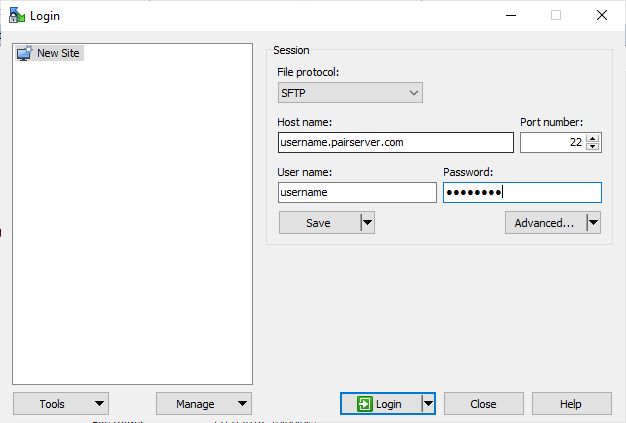
Click the Login button to start the connection. If this is the first time you have connected to the account, you may receive a warning that asks if you want to continue. Click Yes.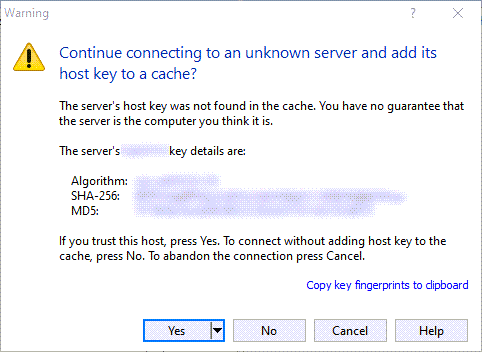
You may also be asked to re-enter the connection password. This will be the same password you use to log in to your Pair account.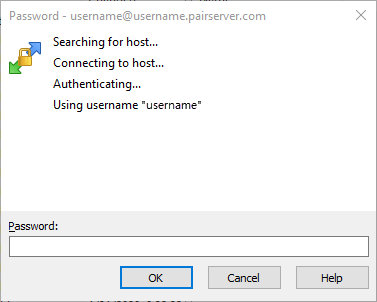
When Reconnecting...
Each time you want to connect to your Pair Networks account, you will need to start a new session. You can start a new session by clicking the New Session button, then either selecting your saved connection from the left side of the window or reentering the connection details.
Using WinSCP to Manage Files
Once you have established a connection to your Pair account, you can begin managing your files. When connected, the WinSCP client will show both your local directories and your server directories. 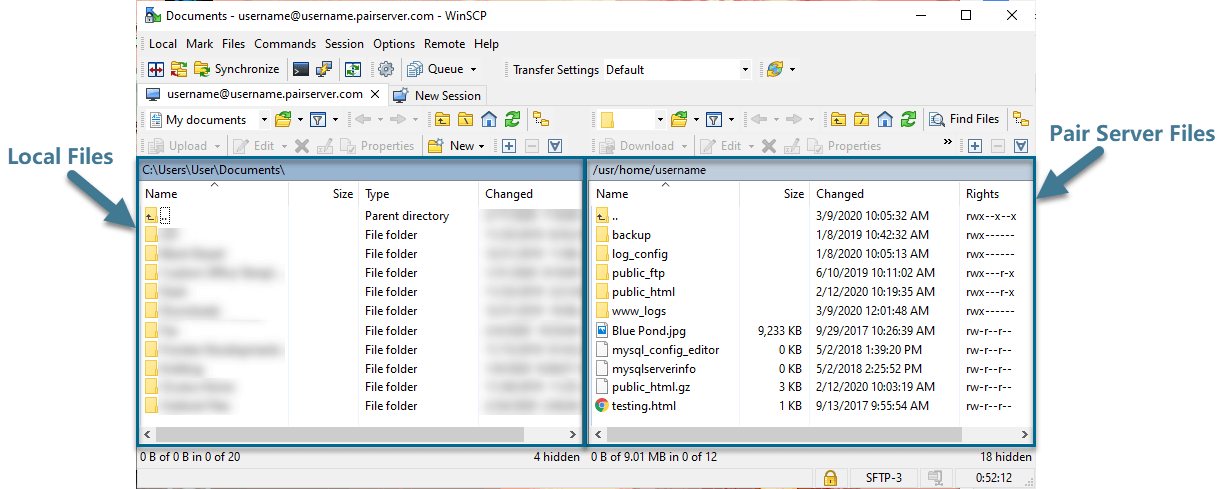
Navigating Directories
In order to find the file you want to transfer, you may need to navigate through the local or server directory.
You can double-click directories (indicated by the folder icon) to open them and display their contents.![]()
To return to the previous directory, double-click the folder icon with the arrow. This icon is always located at the top of the file list.![]()
Moving Files
You can move files between your local directory and server directory by dragging and dropping them between the two windows. Doing this will create a copy in the location where you drop the file. 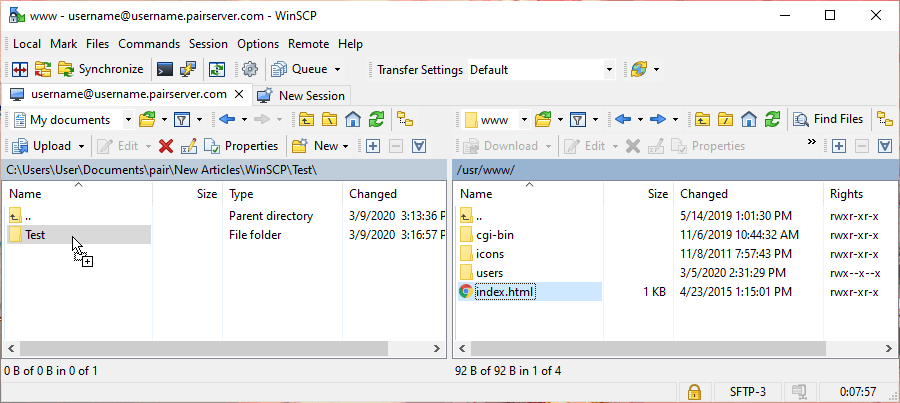
You can also drag entire directories to be copied over. Just navigate to the directory and drag-and-drop it into the desired location. You can do this between local and server directories, or between two directories within the server.
Deleting and Creating Files/Directories
WinSCP gives you the ability to do more than just move files around. You can also delete and create new ones, as well as entire directories.
Creating Files/Directories
To create files or directories, you must first select either the local or server window. The window that is selected will be a slightly darker shade. It's important to select the correct window, otherwise you may accidentally create the new file or directory in the wrong area.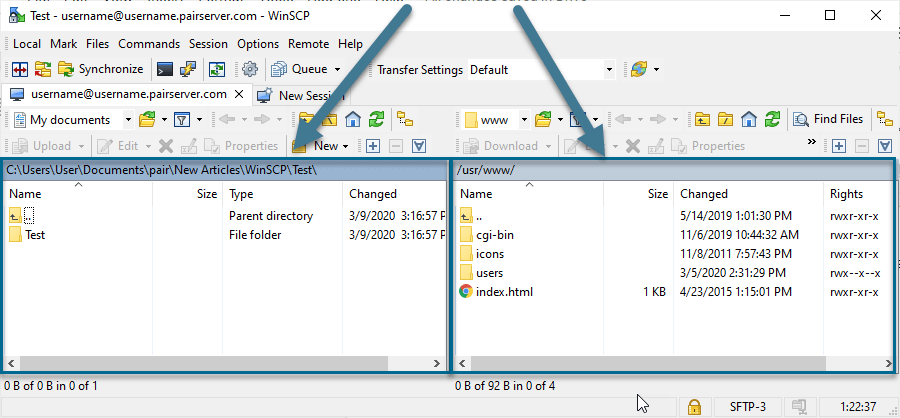
Once selected, navigate to the desired location for the file or directory. The file or directory will be created wherever you currently are in the file system.
When you are in the correct location, go to the navigation bar at the top of the interface and click the New button.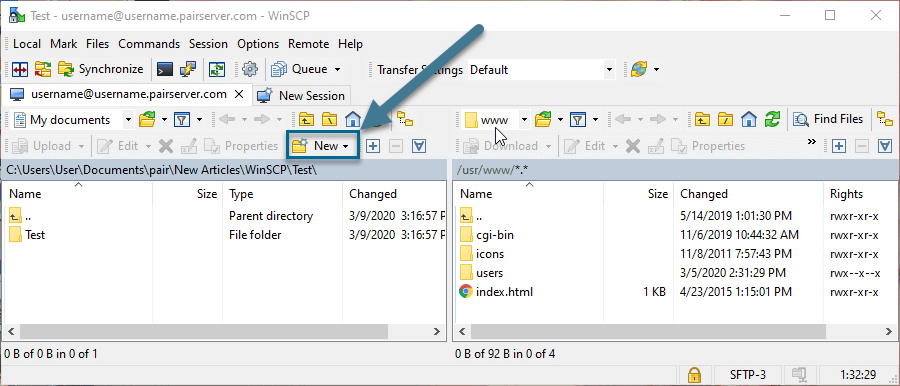
When this button is clicked, a drop-down will appear. Select whether you want a new file or a new directory.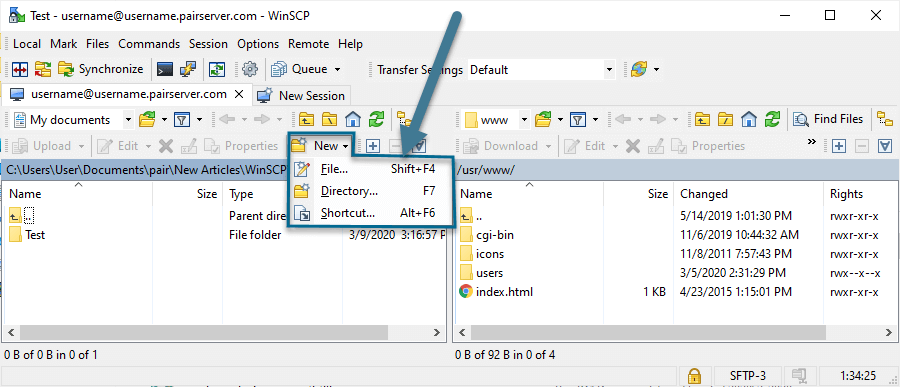
Once you have made your choice, you will be able to name the new file or directory. Enter the name, then click OK.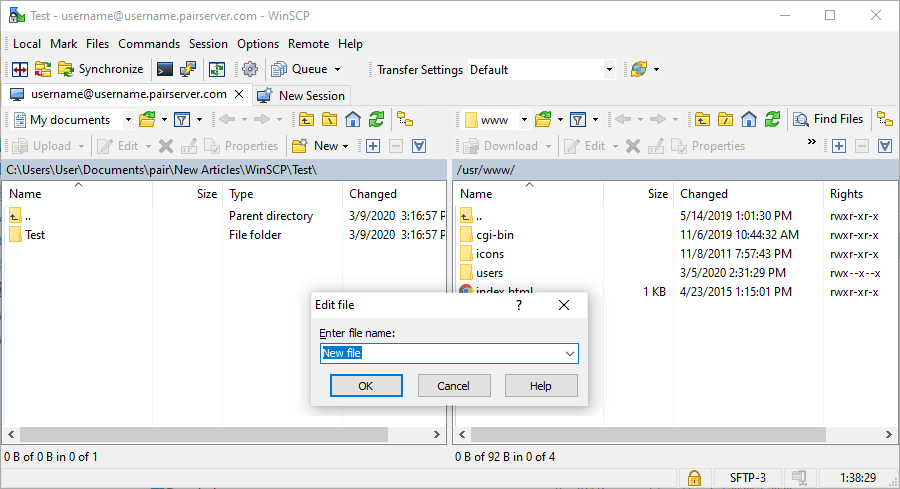
The new file or directory will be created. If you created a file, the WinSCP file editor window will pop up, allowing you to edit the file. Be sure to click the save icon in the top left of the navigation bar before exiting the window.
Deleting Files/Directories
To delete files or directories through WinSCP, you must first navigate to the file or directory you wish to delete. Once there, select the file/directory by clicking it. When it has been selected, go to the top navigation bar and click the red X button.
A prompt will appear, asking you whether you are sure you want to delete the file/directory. Click OK to continue with the deletion. 