WP Enthusiast WP Professional WP Professional Plus PairSIM WordPress
You can use Google Analytics to track visitors on your website. You can see what pages they are landing on, where they are navigating to, and when they leave. It can be invaluable knowledge to have when assessing your site.
If you do not have a WordPress site, see our How to Add Google Analytics to an HTML Website article.
Set Up Google Analytics
The first step is to set up the analytics on the Google end and get the tracking ID.
-
- Sign in or create a Google Analytics account
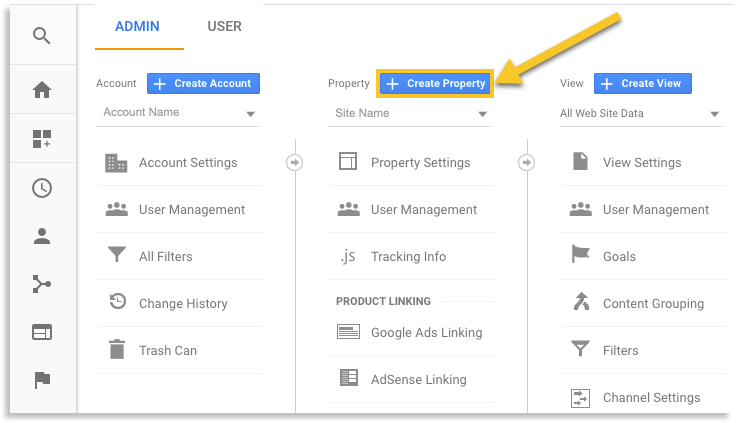
- In the left bottom of the sidebar, click Admin

- On the right side of the screen, select the account you would like to use or create a new account by clicking the + Create Account button

- Click the + Create Property button

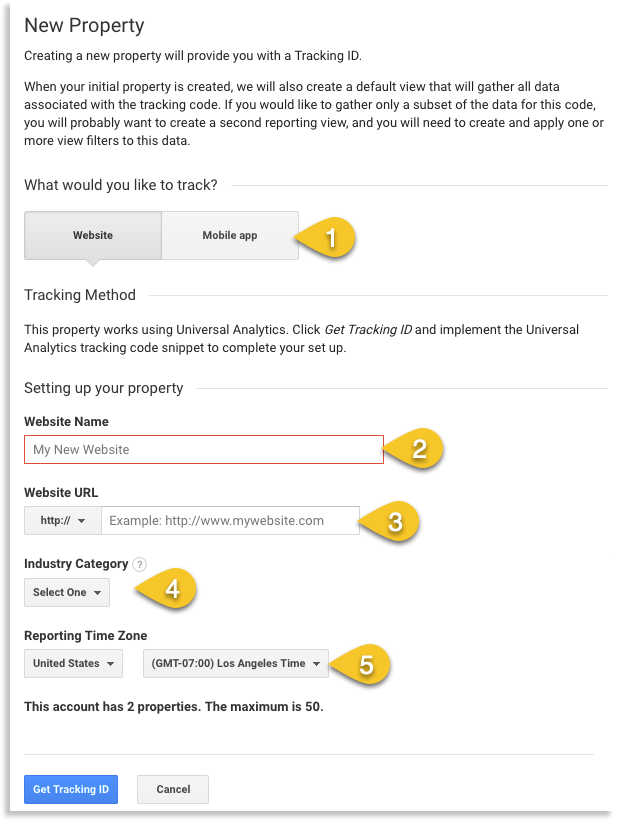
- Select Website

- Enter the following information:
- Website Name: The name you will use to identify your site
- Website URL: The website’s URL
- Industry Category: The type of industry that the website falls under
- Reporting Time Zone: This will determine the time displayed in analytics results
- Click the Get Tracking ID button

- Copy the code on the next page, under the Global Site Tag header

Keep this page open. You will need the code for the next step.
Add Analytics Code to WordPress Site
The next step is to add the analytics code to your WordPress website. Because WordPress is a CMS, this process differs from adding code to a simple HTML site.
Go to the Theme’s Function.php File
We will be adding analytics code to the functions.php file of your current theme, so you need to locate your functions.php file.
We recommend having a child theme before adding anything to the functions.php file. If you do not have a child theme, theme updates will overwrite your changes.
To find the theme’s functions.php file, follow these steps:
- Log in to your WordPress site’s admin interface
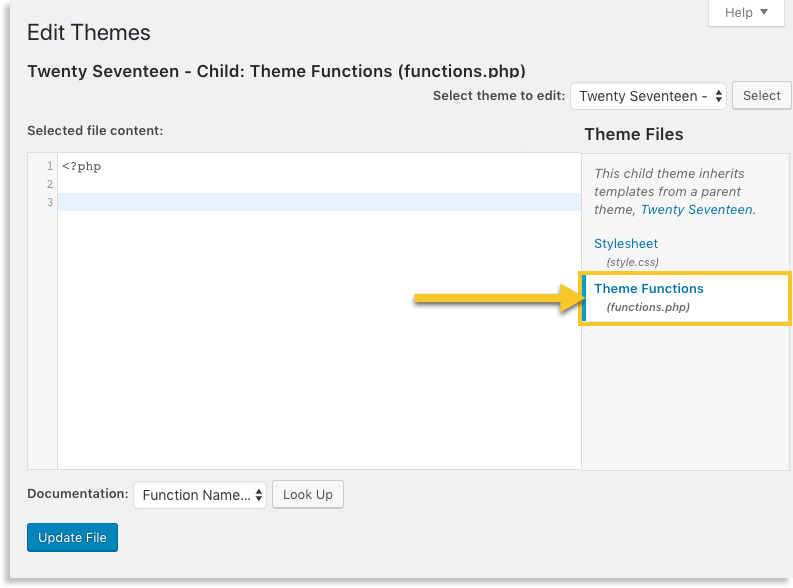
- In the left sidebar, hover over Appearance, click Editor in the drop-down

- In the right sidebar, click Theme Functions (functions.php)

Add Code to Your Functions.php File
After you have located your functions.php file, you need to add the analytics code to it.
- Paste the following code in the text field
<?php
add_action('wp_head', 'pn_add_analytics');
function pn_add_analytics() { ?>

<!--Paste your Google Analytics code here-->

<?php } ?>
- Underneath <!--Paste your Google Analytics code here-->, add the Google Analytics code that you got from the Set Up Google Analytics section
- Click Update File at the bottom of the page

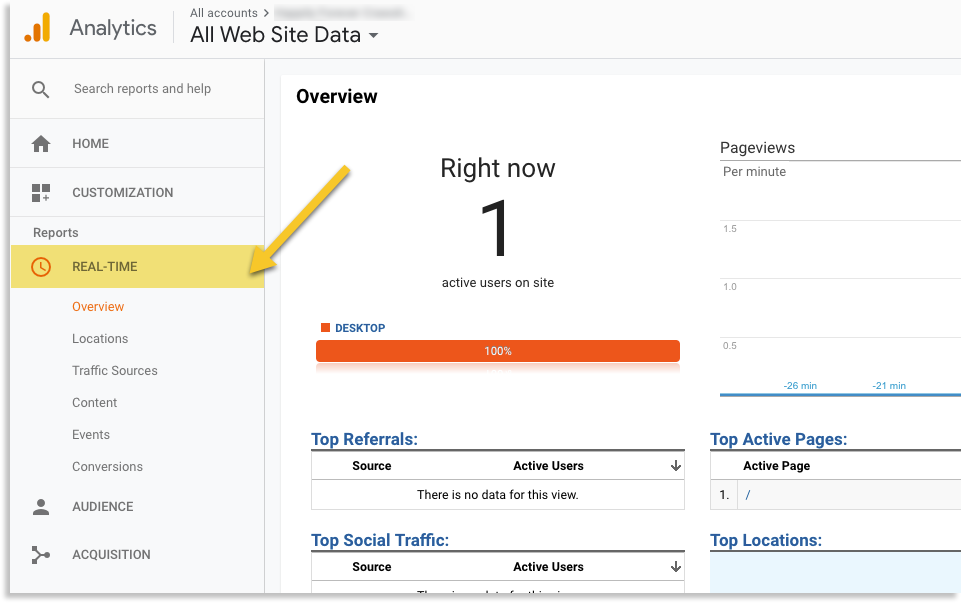
Once you have added the tracking code and updated the file, you can test to see if it’s working by visiting the live site, then looking at the REAL-TIME page in the analytics interface. If working, it should show that a visitor is viewing the page.
