You can send your Dreamweaver site files straight to your hosting account from the Dreamweaver interface. Using Dreamweaver to transfer files cuts out the extra step of using an FTP interface or SSH.
Using Dreamweaver with Your Hosting Account
- In your Dreamweaver client, open your site files
- In the Dreamweaver navigation bar, click Site
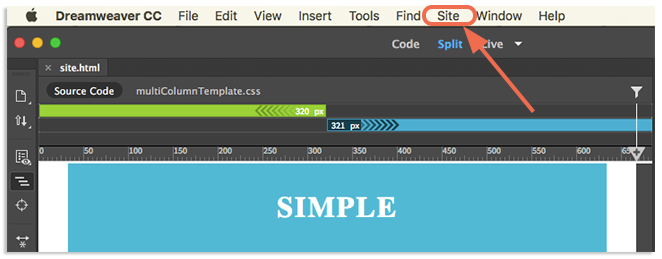
- In the drop-down, click New Site

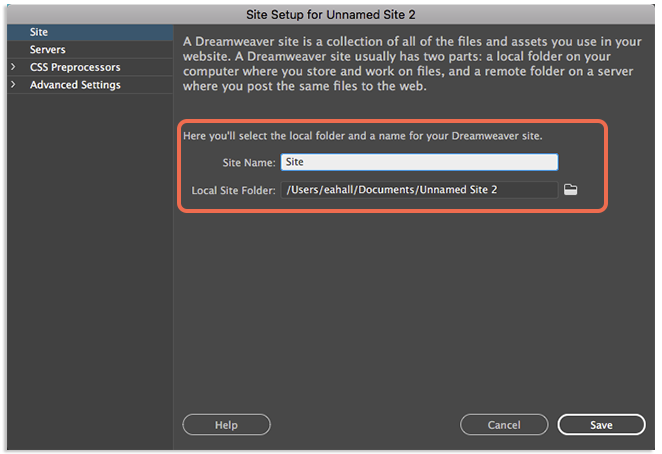
- Next to Site Name, enter the name of the site and, below, select the file path where the local file should be saved
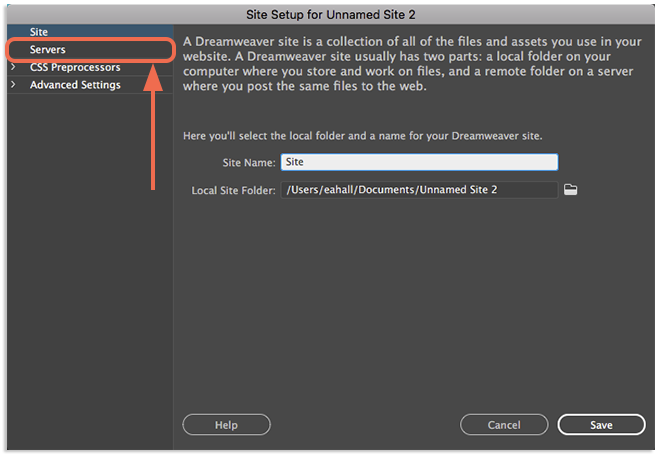
- In the left side of the window, click Servers
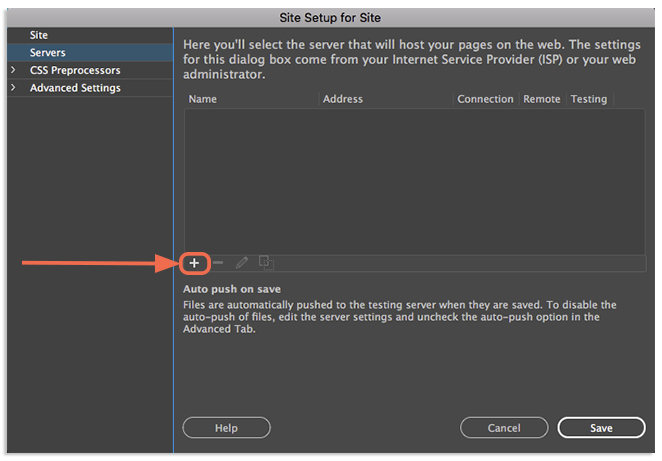
- Click the + button to add your hosting account
- Fill in the server information
Server Name:Enter a name for this server. This can be any name and is only for your personal use.
Connect using:Select the protocol used when transferring the data. We recommend using SFTP, since it is secure.
SFTP Address:Enter the server name. This will always be username.pairserver.com. Replace username with your Pair Networks username.
Username:Enter your ACC username
Password:Enter your ACC password
Root Directory:Enter the file path to the directory where the site files should be stored on your server. For example, a file path may look like this:
- /usr/home/username/public_html/domain.com
Web URL:Enter the site’s intended URL
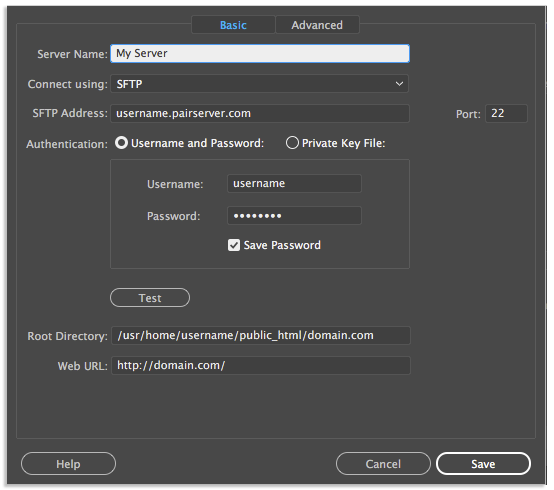
- Click Save
- On the next window, review the information. If correct, click Save
- In the right side of screen, click the up arrow button to send your current files to your server
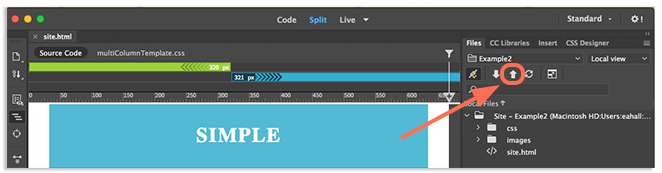
This will send your site files to your chosen directory. If you keep the server connected, you can click the up arrow at any time to send new changes to the server.