So you have a domain name registered and you have a web host, but how do you get your domain name up and running on the internet?
There are three steps you need to complete before your site is live:
Add a Domain
The first step to getting your domain name onto your account. To do this, follow these instructions:
- Log in to the Account Control Center (ACC)
- Click Domains in the left sidebar, then click Add a Domain Name
- Under Select Domain Name, select Add Domain Name and enter the registered domain name in the corresponding text field
- Under Select Hosting Type, select your preferred hosting type. See more information about hosting types in our article, What Types of Domain Hosting are Available?
- Click Proceed
This will add the domain to your hosting account. On the next page, it will show you the name servers associated with this domain name. You need to take note of these since you will need them in the next step. They will look something like:
dns3.pair.com
ns8.ns0.com
If you have already added a domain name and did not take note of the name servers, you can find them again by following these steps:
- Click Domains in the left sidebar, then click Manage Your Domain Names
- Find the name of your chosen domain, then click it
- Find the Name Servers category
The name servers for the domain will be listed here.
Point Name Servers to Hosting Account
Web hosts have name server associated with them. When you want to use a domain on a web host, you need to take the web host’s name servers and give them to your domain’s registrar. This will route the domain to the web host, thus allowing the web host to host the domain. Without the name servers, the web host will be unable to host the domain, thus making it impossible for the domain and its website to be accessible via the internet.
You’ll need to go to your domain registrar to change the name servers. Refer to your domain registrar’s instructions for changing the name server. If you used Pair Domains to register your domain names, you can look at their Changing Name Servers article for instructions.
It may take some time for the name servers changes to go through, so your site may not be available right away. However, once the changes do go through, your domain and its site will be able to go live.
Create the Website
Now that your domain is all set up, it’s time to create your website. There are many different ways to create a website. There are Content Management Systems (CMS), such as Weebly, that gives you the ability to create websites without any prior technical knowledge. If you chose Weebly when adding a domain, you can follow the instructions in Building a Website with Weebly series.
The Web Directory
If you would rather create an HTML site, it is important that you know where the website files are stored on your hosting account. Domains are automatically given a directory (like a folder) in the Web directory of your account’s file system. By adding your HTML, etc. files to your domain’s directory within the Web directory, your domain will use those files to make its website.
Files in the Web directory can be accessed from the internet. If you are using code files to create a website, you would add the files to the directory in order to add the website to the internet.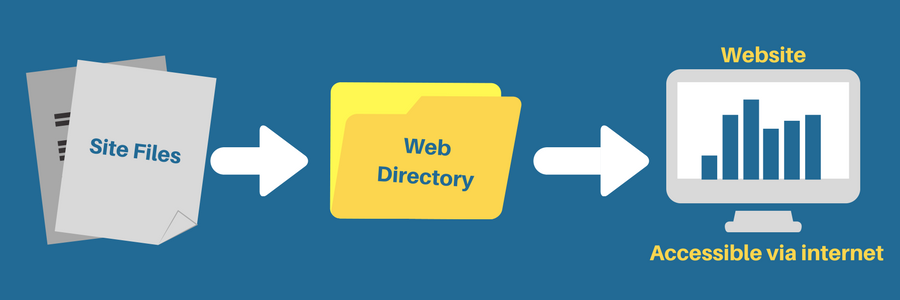
If you do add code files to your domain within the Web directory, you should verify that it is working by visiting your domain in an internet browser. If you don’t see your website or receive an error, it may be due to file permissions. Check out our article on File Permissions for more information.
To access the Web directory:
- Log in to the Account Control Center (ACC)
- Click Files in the left sidebar, then click Web
- This will take you to the Web directory. Click on the name of your domain to enter its specific directory. You will add your desired site files here
Learn more about adding files in our article How to Upload Files article.
This is just an introductory article that covers the basics of setting up a site. There is so much more than you can do with websites. Whether you’re building from scratch or using a CMS, you can refer to the other articles in our knowledge base for more helpful tips, tricks, and walkthroughs.
Here are some categories that you may be interested in: