Shared VPS Dedicated WP Enthusiast WP Professional WP Professional Plus
Google Site Kit is the much anticipated Google WordPress plugin. With this plugin, you can monitor your site's visitors, see what pages they land on, how long they stay, and more!
Installing and Activating Google Site Kit WordPress Plugin
To install Google Site Kit on your WordPress site:
- Open your WordPress Admin Interface
- In the left sidebar, click Plugins
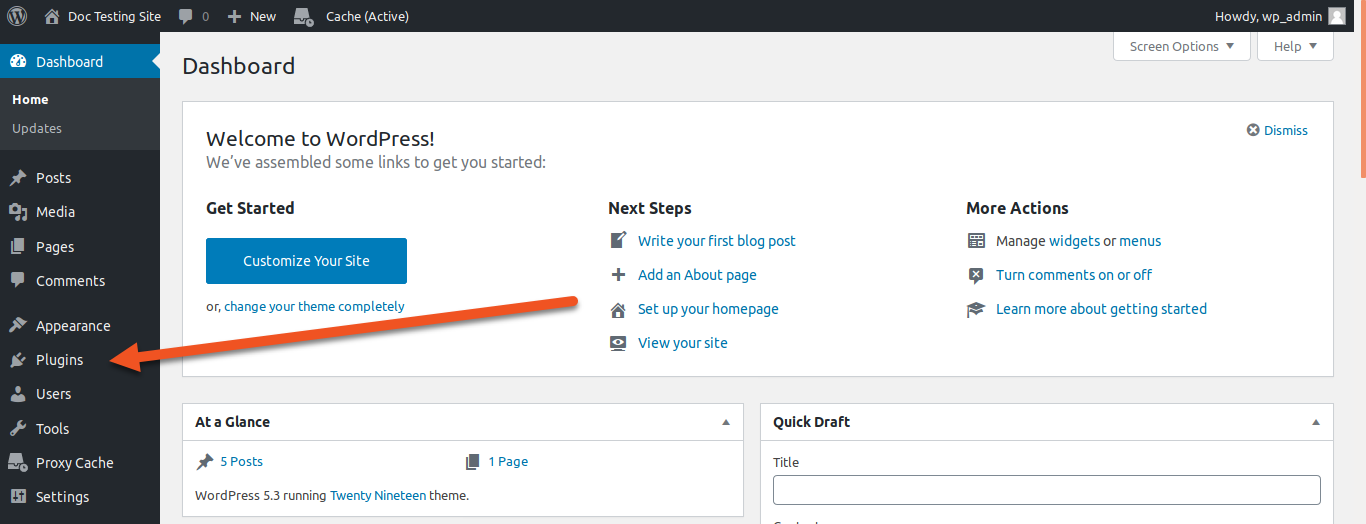
- Next to the Plugins header, click the Add New button
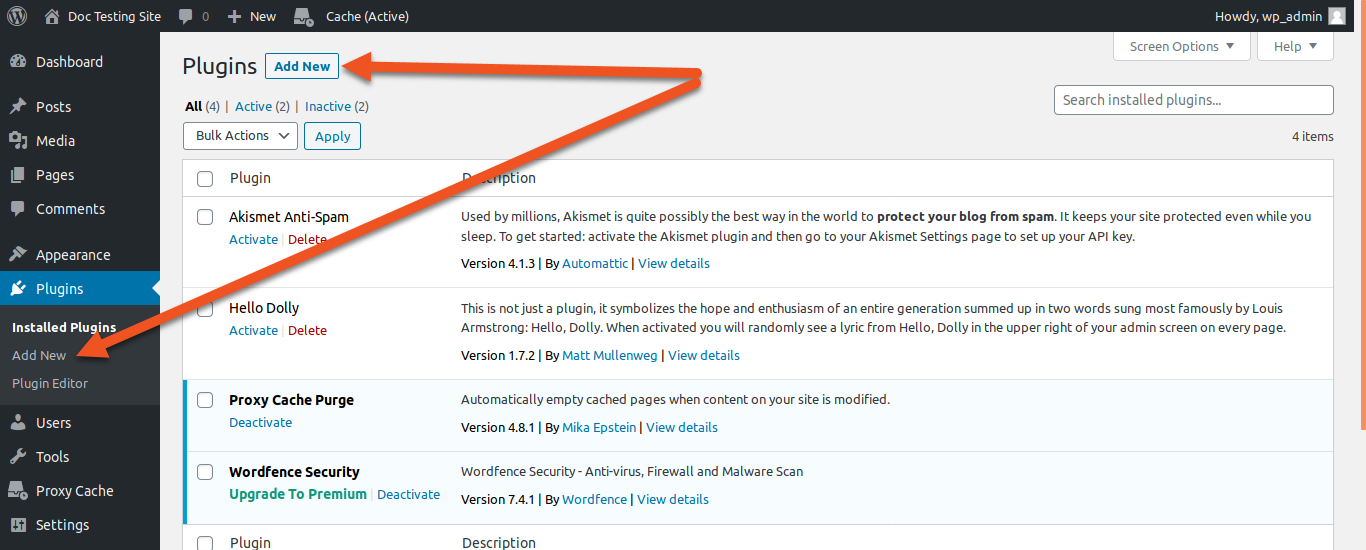
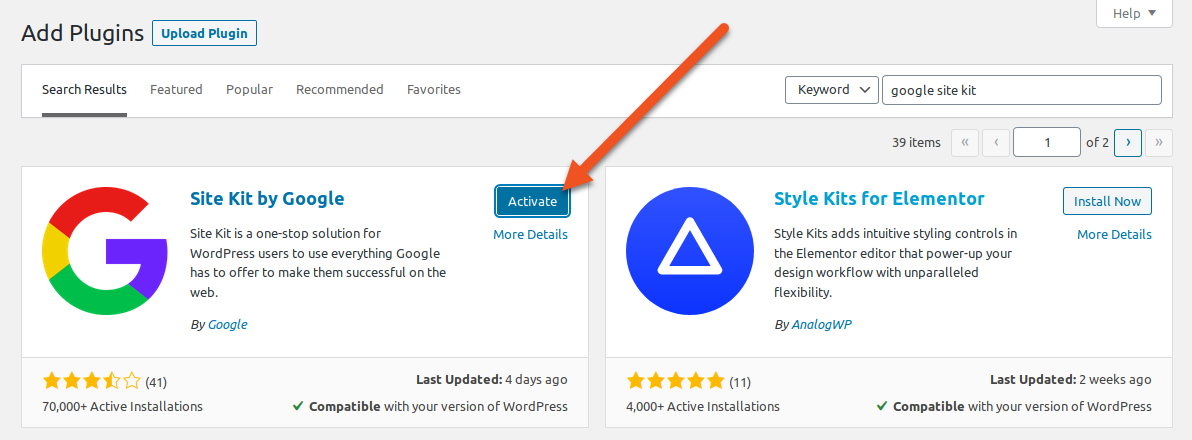
- Search the plugin directory for Google Site Kit
- Once you have found it, click the Install Now button
- Once installation has finished, click Activate
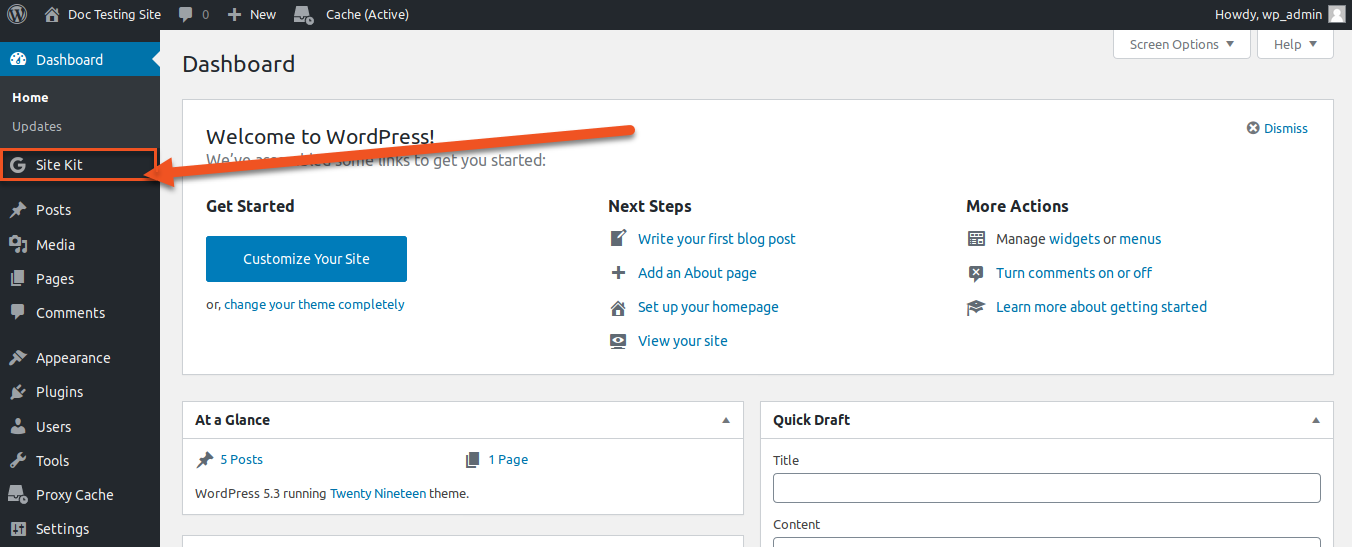
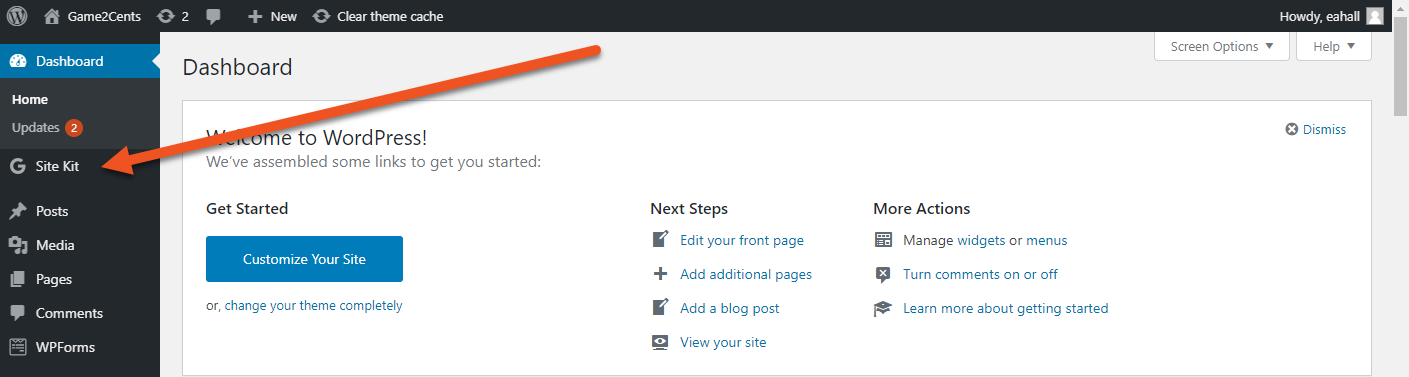
You will be redirected to the main plugin page. A banner will display across the top of the page with a Google Site Kit banner. You will be able to access the Google Site Kit tool at any time by clicking the Site Kit tab in the left sidebar.
Setting up Google Site Kit on your WordPress Site
Once the Google Site Kit plugin has been installed and activated on your WordPress site, you will need to configure a few things before it works properly.
Connecting the Google Search Console to Your WordPress Site
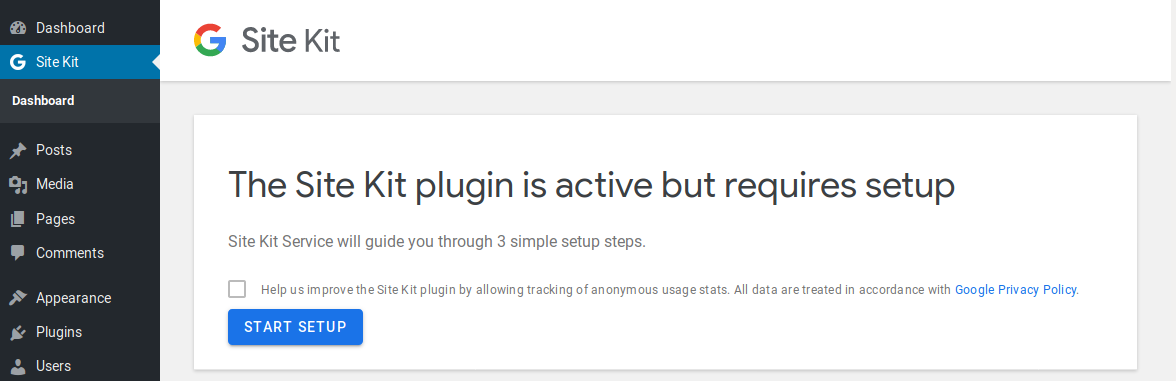
- To start the setup process, click the Site Kit tab in the left sidebar
- This will take you to the Google Site Kit home page. Click the Start Setup button on this page.
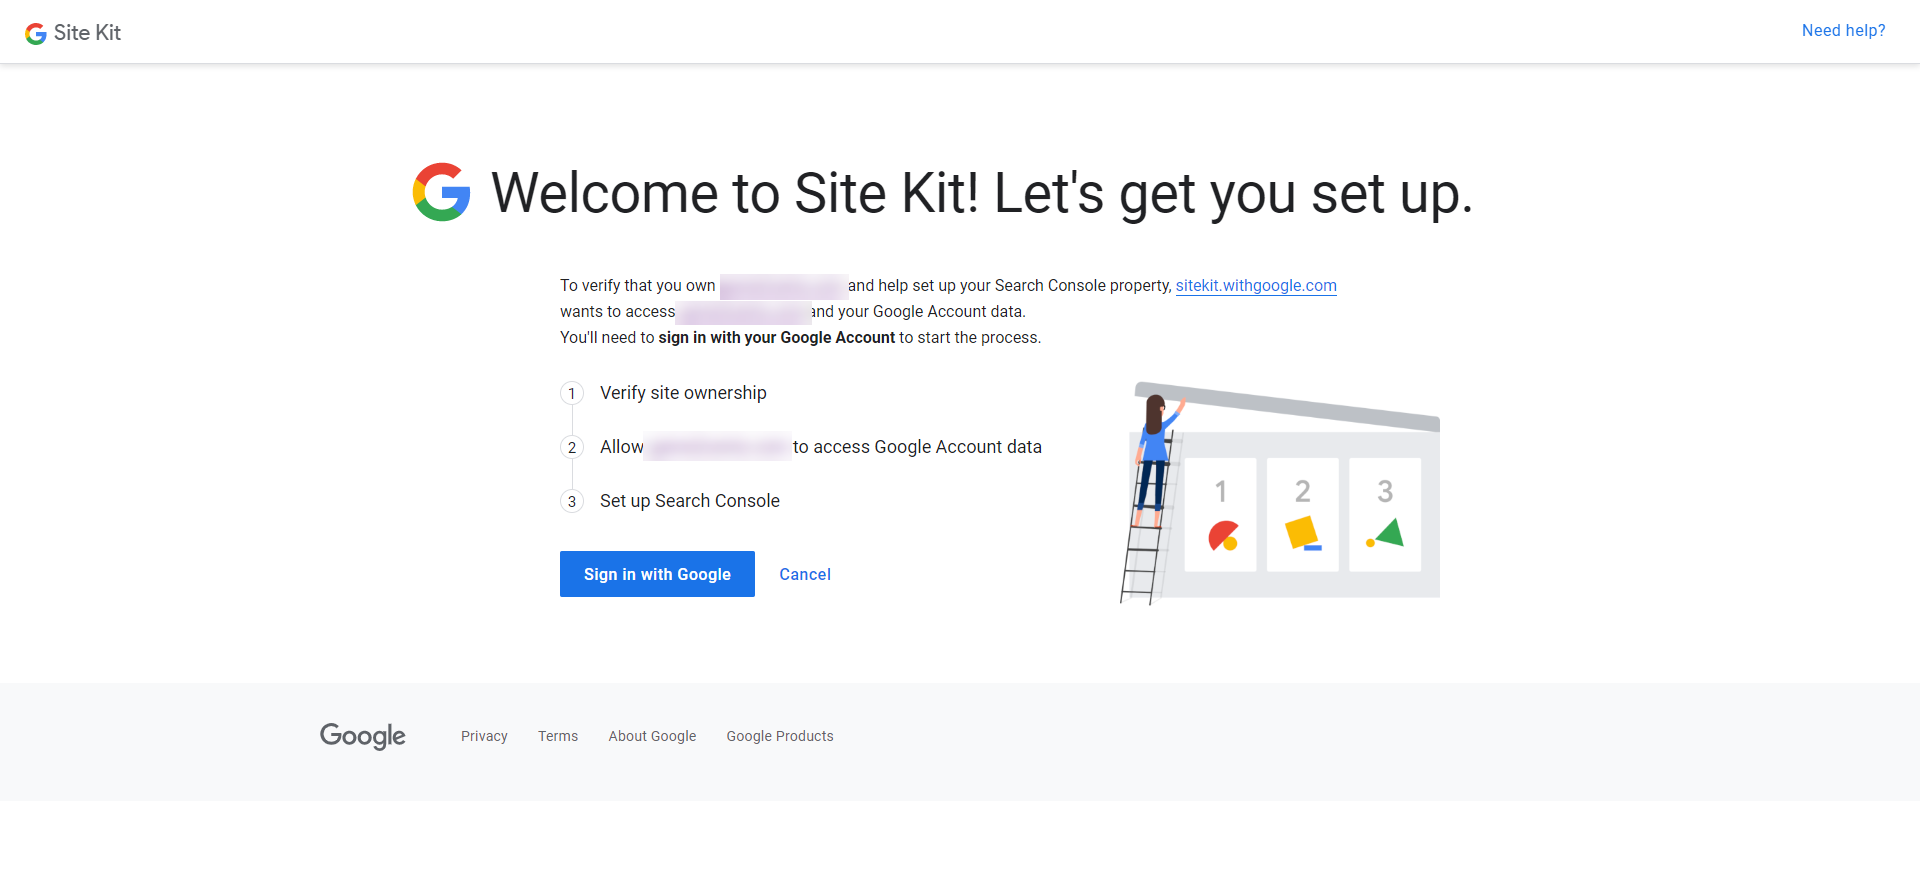
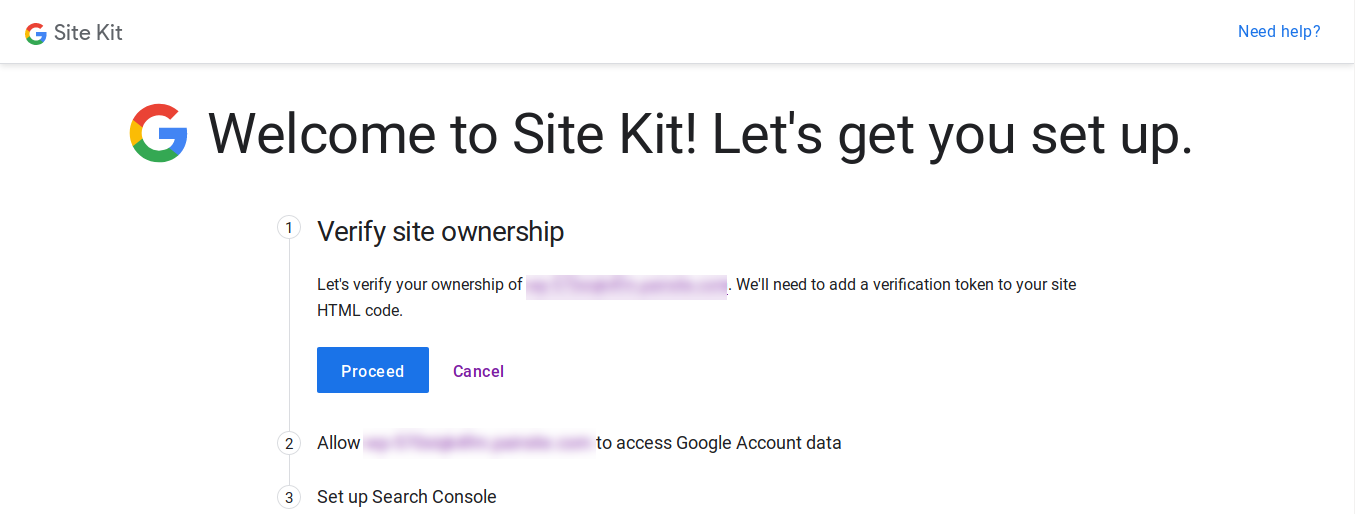
- You will be redirected to a new page where it will outline the next steps for you. These steps are:
- Verify site ownership
- Allow [your domain] to access Google Account Data
- Set up Search Console
- Click Sign In with Google to continue
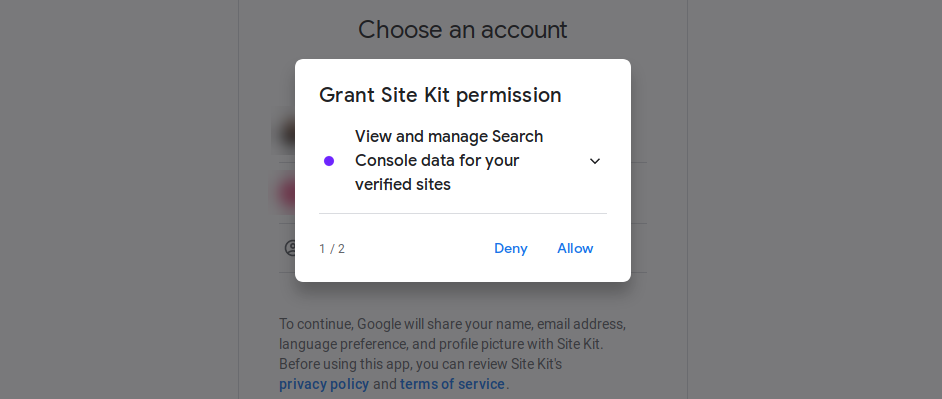
- Sign in to your desired Google account
- Click Allow to give Site Kit permissions to access and manage the Search Console
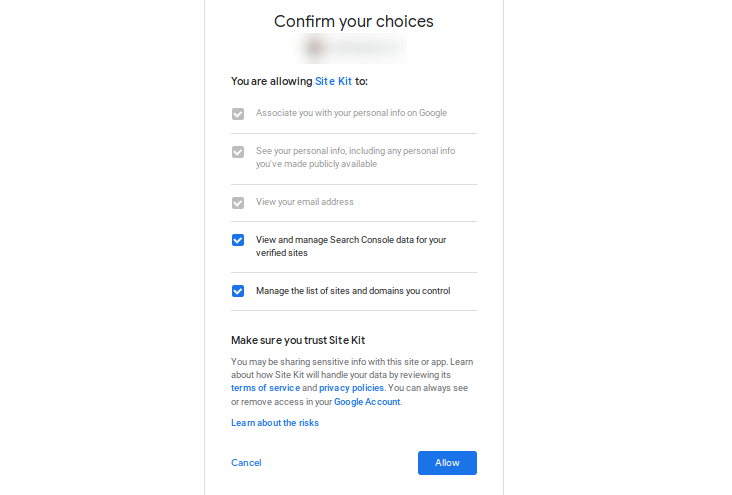
- Review the permissions you are granting Site Kit, then confirm by clicking Allow
- On the next page, under Verify site ownership header, click Proceed
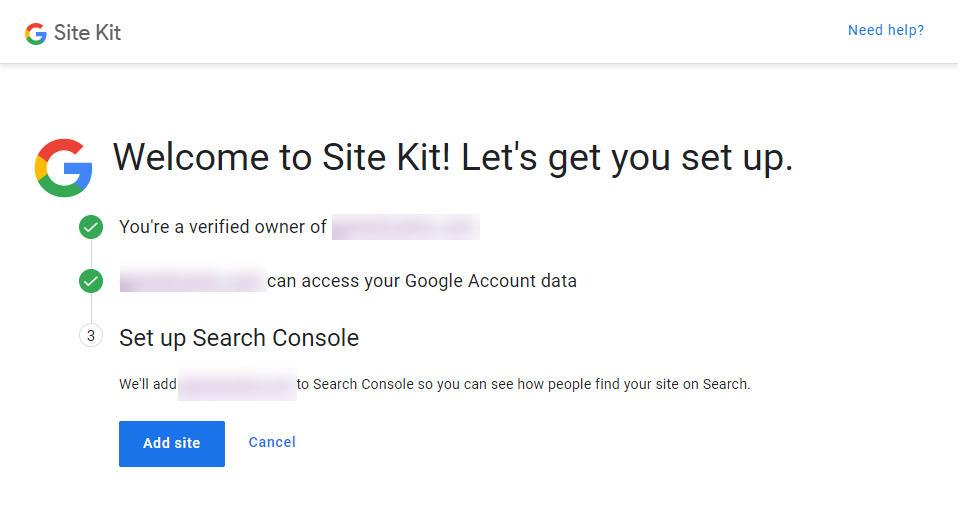
- Next, under Allow [your domain] to access Google Account data header, click Allow

- Then, under Set up Search Console header, click Add Site
- Click Go to my Dashboard to return to your WordPress admin interface
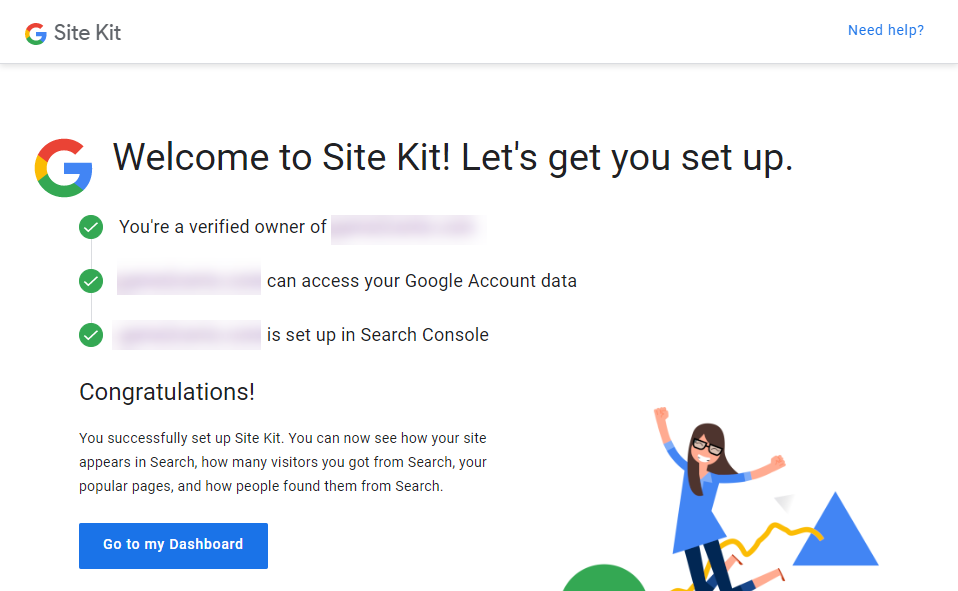
Your WordPress site will now be set up on your site. However, keep in mind that this has just connected your site to the Google Search Console. In order to incorporate Google's AdSense, Analytics, or PageSpeed Insights, more set up is required.
Connecting the Google AdSense to Your WordPress Site
Google AdSense gives you the ability to add targeted ads on your website. To connect your Google AdSense account to your WordPress site, follow these steps:
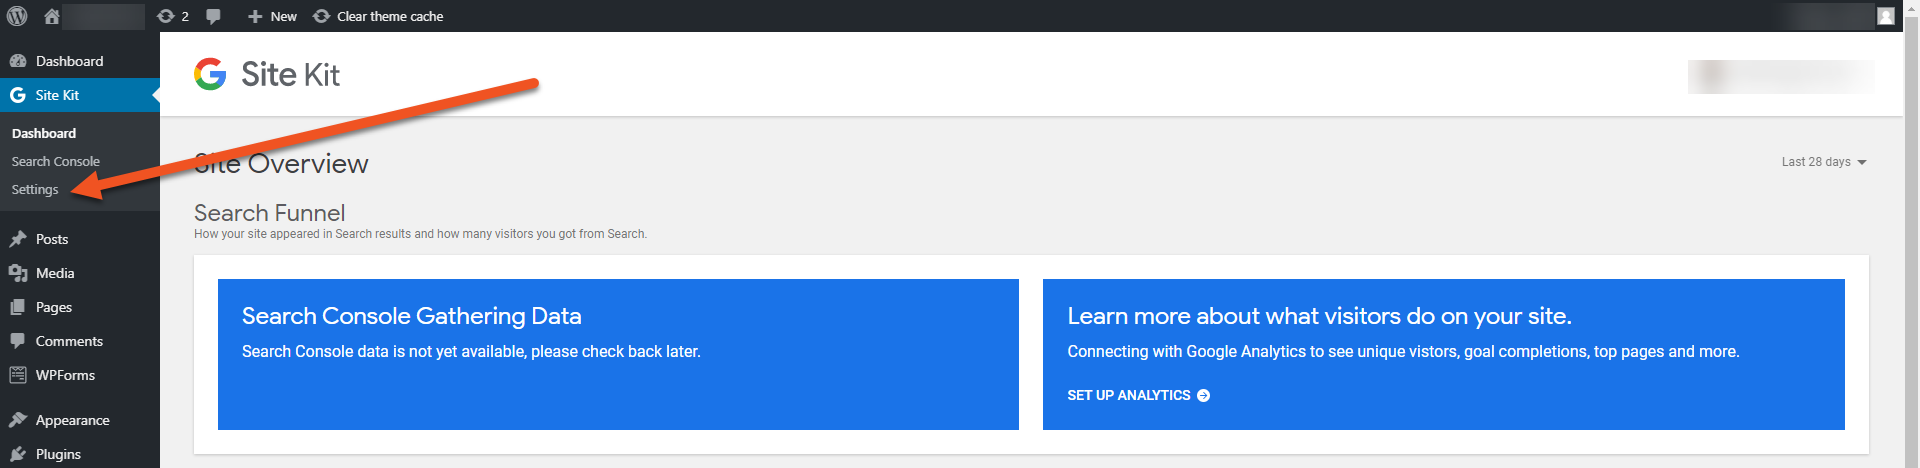
- In your WordPress admin interface, go to the left sidebar and click the Site Kit tab

- In the drop-down under the Site Kit tab, click Settings
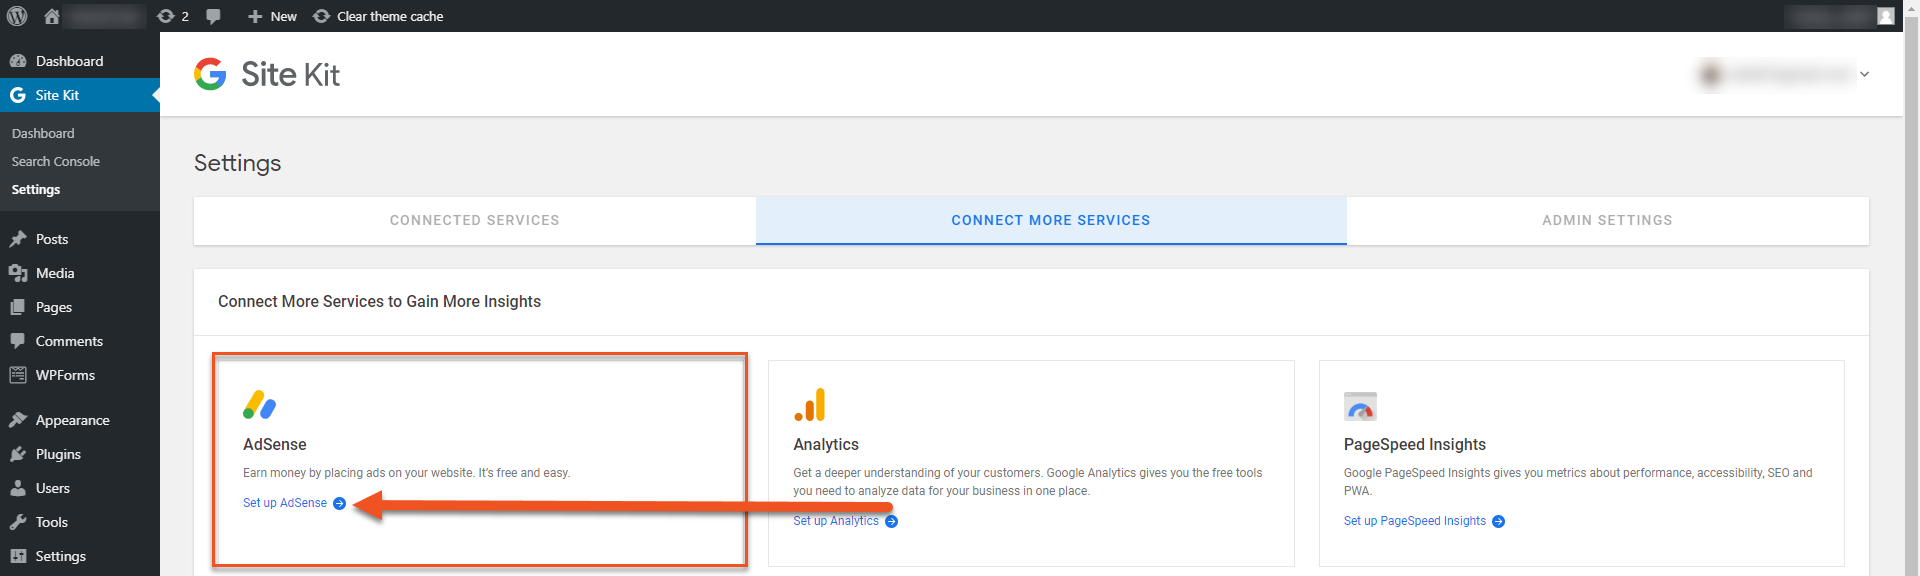
- In the Settings interface, make sure Connect more Services is selected
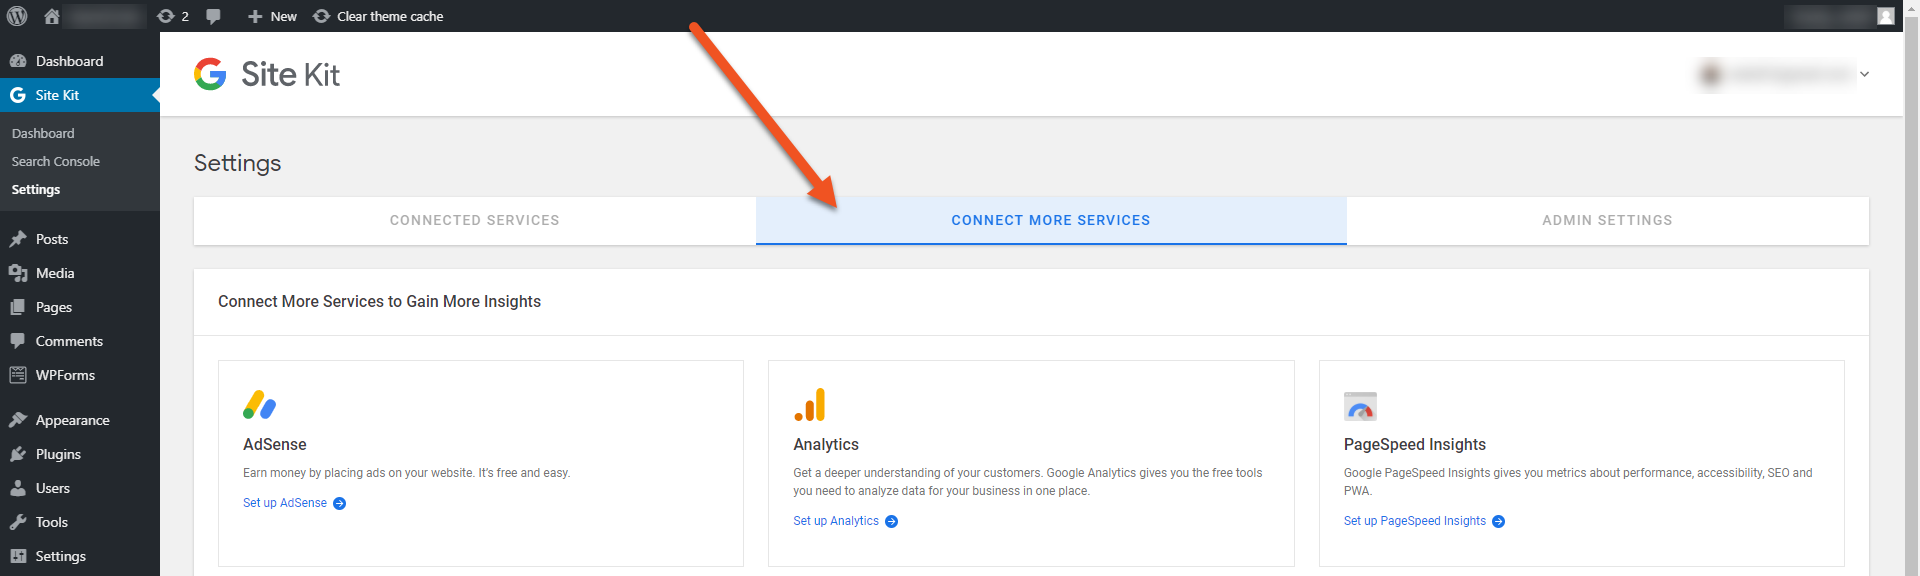
- Under the Connect More Services to Gain More Insights section, find the AdSense section and click Set Up AdSense
- Choose the Gmail account you want to connect the site to
- A pop up may appear asking you to grant permission to AdSense. Click Allow
- Confirm your permissions by clicking Allow again
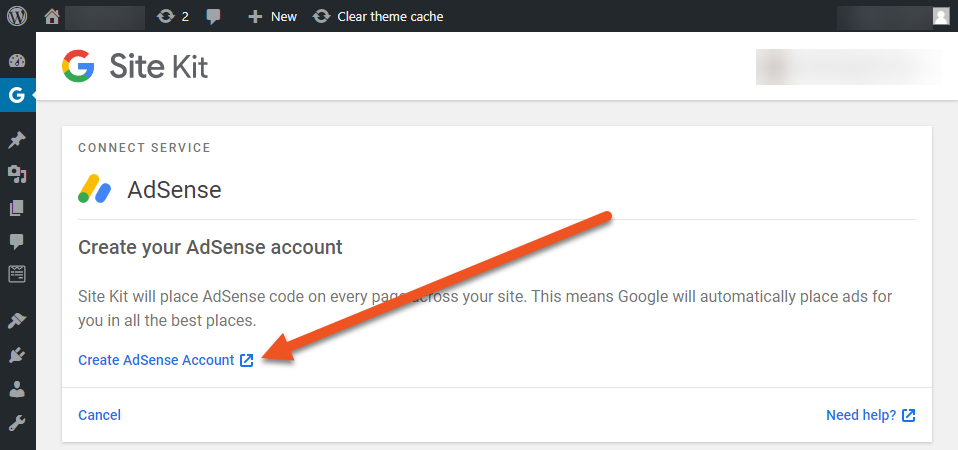
- If you do not have an AdSense account yet, you will need to sign up for one. Do this by clicking Create AdSense Account
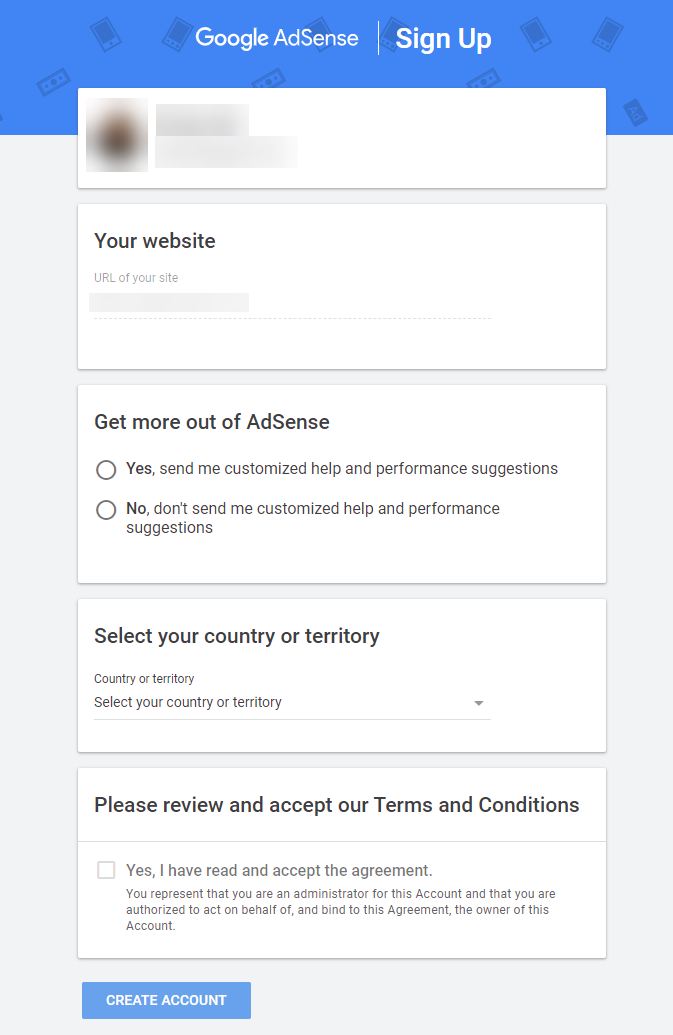
- Choose a Google account to create an AdSense account under
- Fill in the AdSense form information, then click Create Account
- Review your account, then click Submit
- Choose whether Google can place ads for you, then click Save and Continue
Return to your WordPress site. New AdSense accounts may take some time to connect, so you can check back periodically by going to you main Google AdSense account .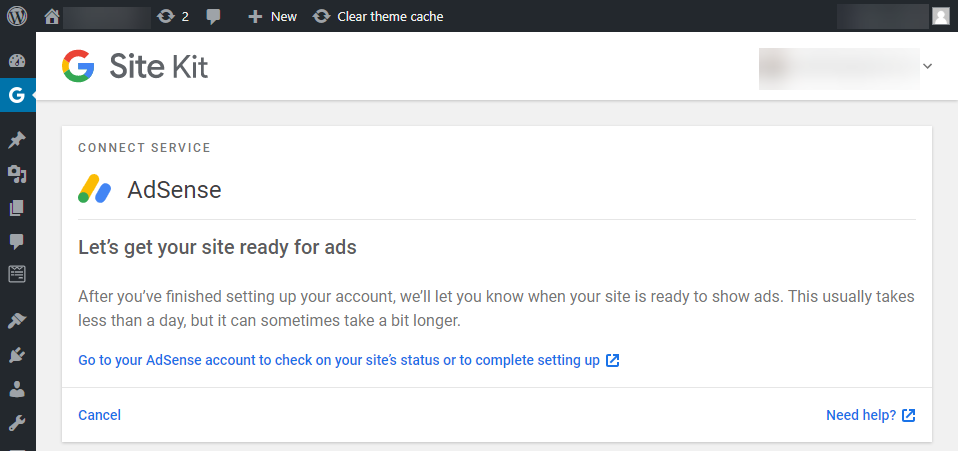
Connecting the Google Analytics to Your WordPress Site
Google Analytics can be used to monitor your website visitors. You can use this data to see what pages are the most popular, where you are losing visitors, and more.
To connect your WordPress site to Google Analytics, follow these steps:
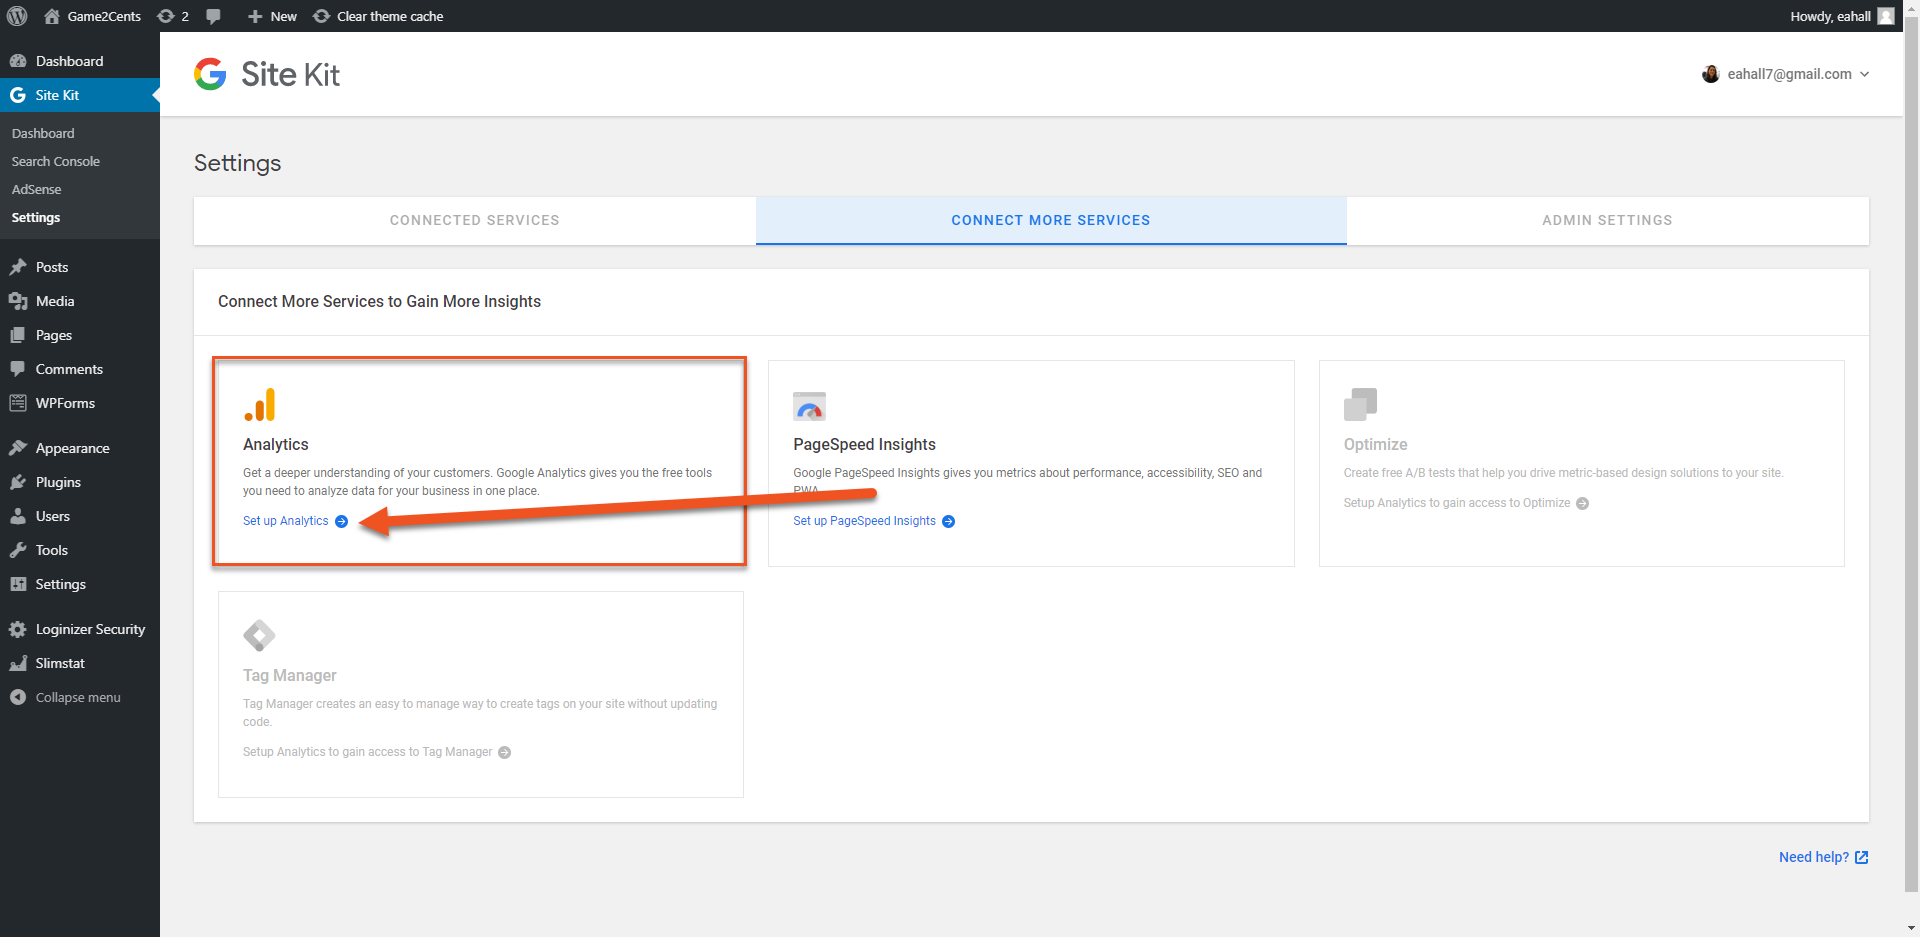
- In your WordPress admin interface, go to the left sidebar and click the Site Kit tab

- In the drop-down under the Site Kit tab, click Settings

- In the Settings interface, make sure Connect more Services is selected

- Under the Connect More Services to Gain More Insights section, find the Analytics section and click Set Up Analytics
- Choose the Google account you want to use
- You may need to grant the account permission. If so, click Allow through the permission request windows
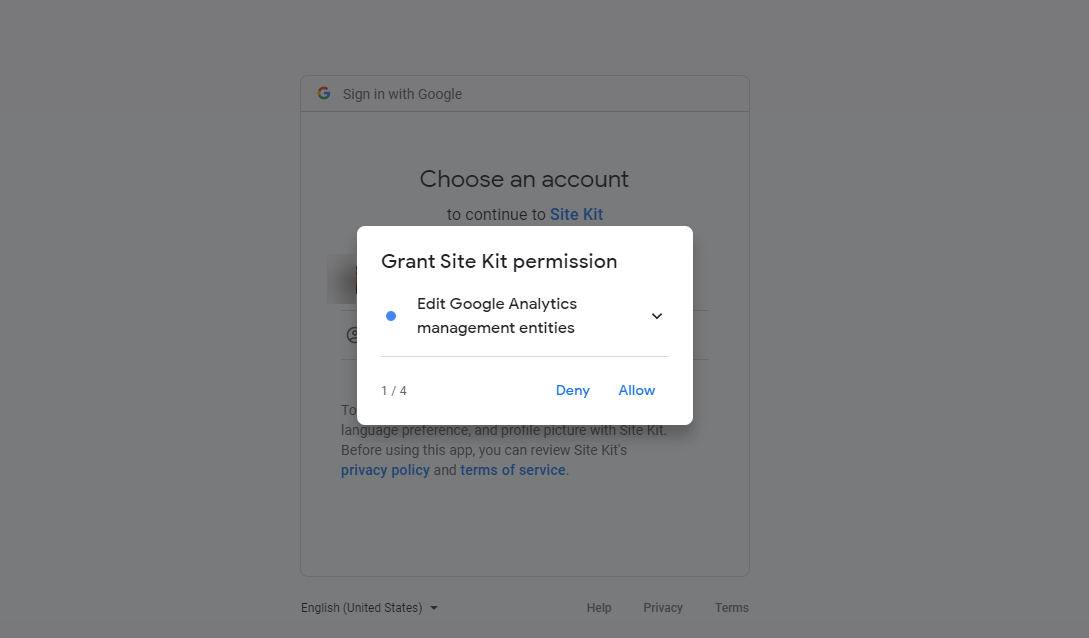
- The next page will show you an overview of the permissions. Review these and click Allow
- When permissions have been given, you will be returned to the Google Site Kit interface and asked to put in the following information:
- Account: select the Google account you want connected to the Google Site Kit
- Property: this is an element specific to Google Analytics. Properties are used to identify what tracking code should be used, as well as other things. For more information about properties, see this explanation. If you do not have a property created for your website yet, you can create a new one by clicking the Property drop-down and selecting Setup a New Property
- View: this will allow you to select what kind of website data you want displayed in the WordPress Google Site Kit interface
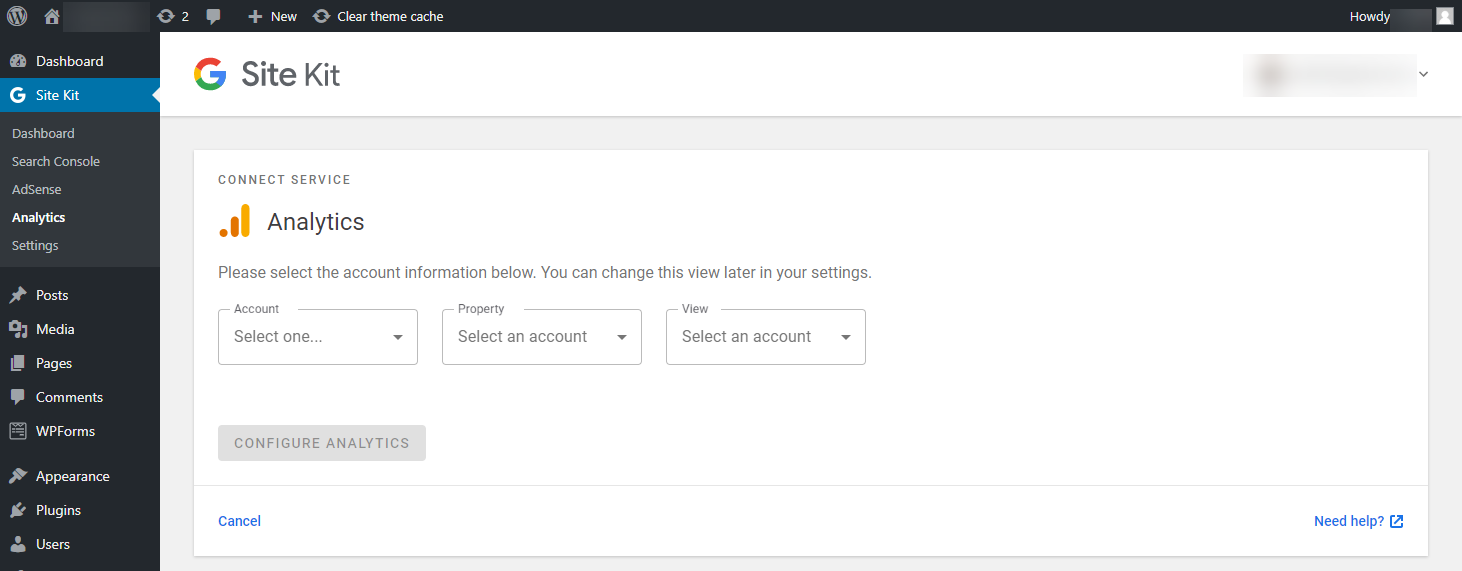
- Once you have filled in the information in the last step, click the Configure Analytics button
This will connect the Google Analytics account to your WordPress site. Go to your Google Analytics main account to make any analytics changes.
Once configured and the analytics are available, you can check them right from your WordPress admin interface. To do this, go to the Site Kit tab, then click Analytics in the drop-down. This will open the Analytics page.
Connecting the Google PageSpeed Insights to Your WordPress Site
Google PageSpeed Insights shows you how fast your web and mobile pages are and can make recommendations for speed boosts.
To connect the Google PageSpeed Insights to your WordPress site, follow these steps:
- In your WordPress admin interface, go to the left sidebar and click the Site Kit tab
- In the drop-down under the Site Kit tab, click Settings

- In the Settings interface, make sure Connect more Services is selected

- Under the Connect More Services to Gain More Insights section, find the PageSpeed Insights section and click Set Up PageSpeed Insights

Once clicked, PageSpeed Insights should be automatically setup on your WordPress account. When it's finished installing, you will be able to view your site speed analytics at the bottom of the Site Kit Dashboard.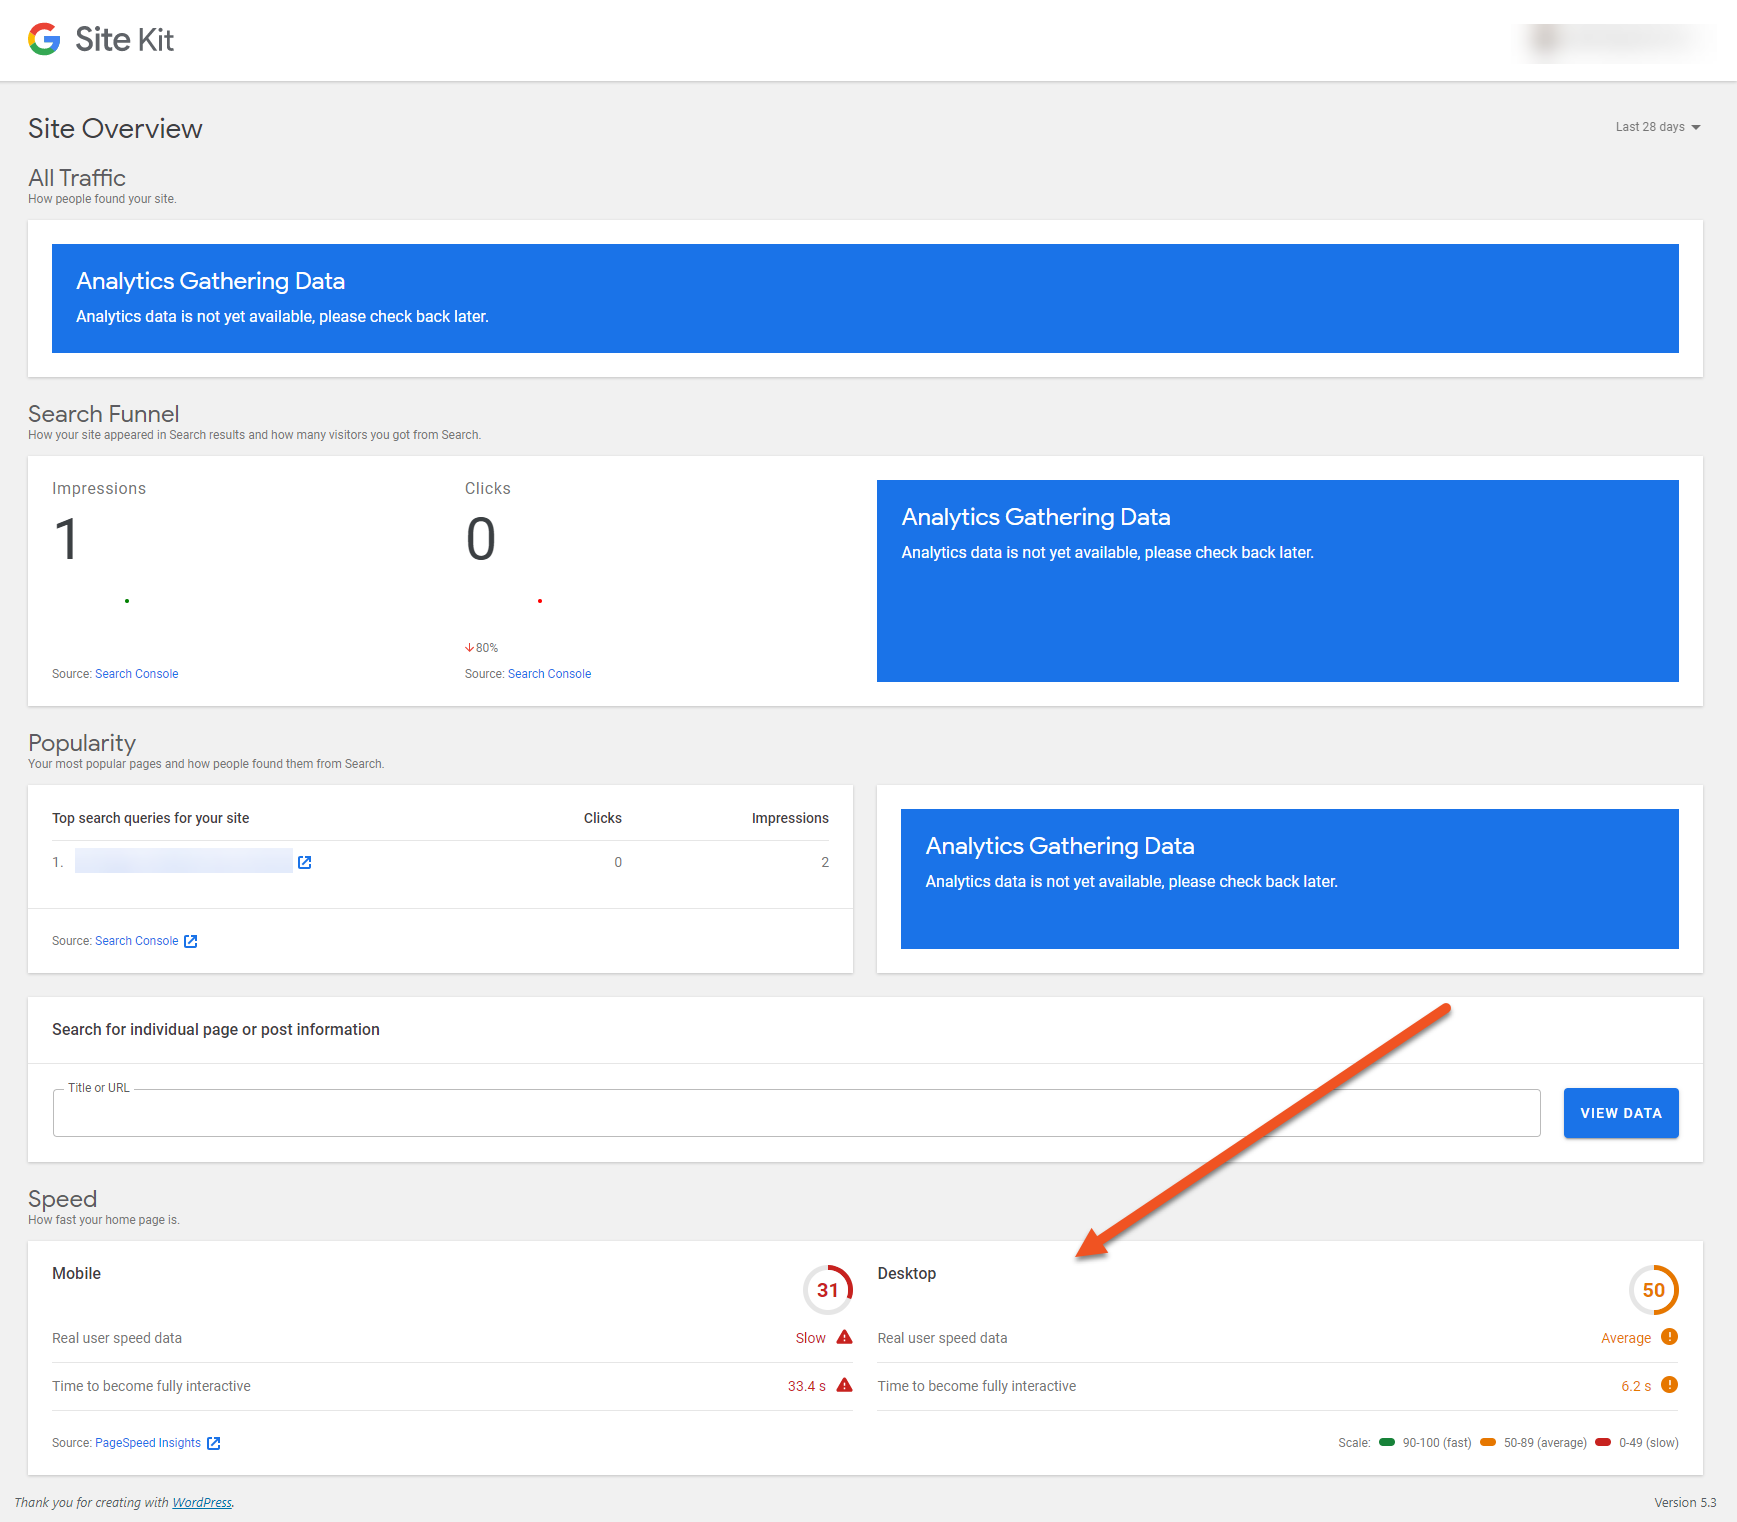
For more in-depth information, see Google Site Kit's documentation.